Home
Wildflower meadows as an option to toxic lawns
How To Grow Birches
Buy Meadow Seeds
How to Save The Monarch Butterfly
FALL HORTICULTURE
Planting
Planting
Feeding
Watering
Veggie blog
Frequently Asked
About
Surfing
Gallery
Summer Horticulture
spring horticulture
noteworthy plants
fall 2018
Products
Shrubs
>
Trees
Bulk Mulch
>
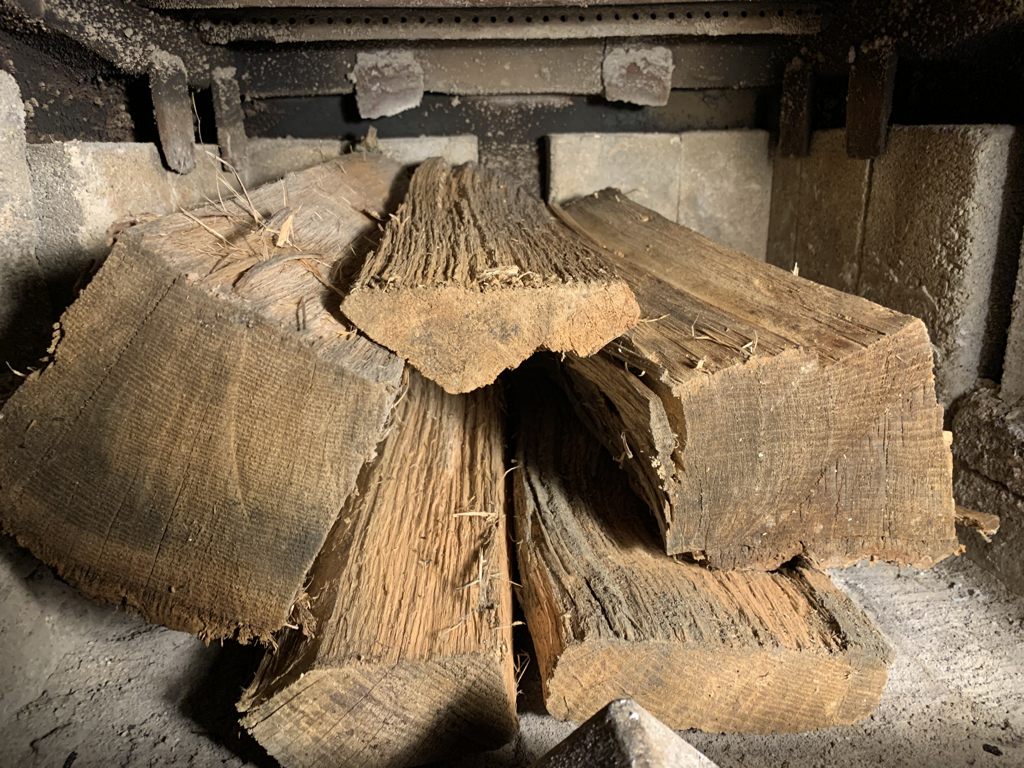
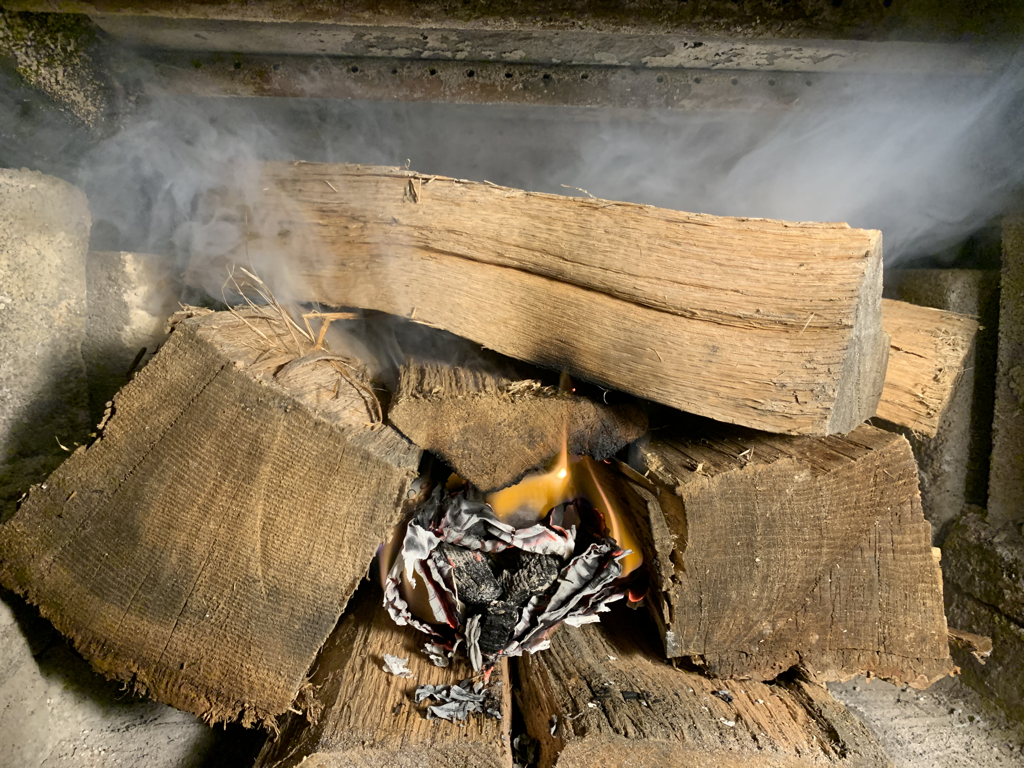
Firewood
Topsoil
Perennials
Home
Wildflower meadows as an option to toxic lawns
How To Grow Birches
Buy Meadow Seeds
How to Save The Monarch Butterfly
FALL HORTICULTURE
Planting
Planting
Feeding
Watering
Veggie blog
Frequently Asked
About
Surfing
Gallery
Summer Horticulture
spring horticulture
noteworthy plants
fall 2018
Products
Shrubs
>
Trees
Bulk Mulch
>
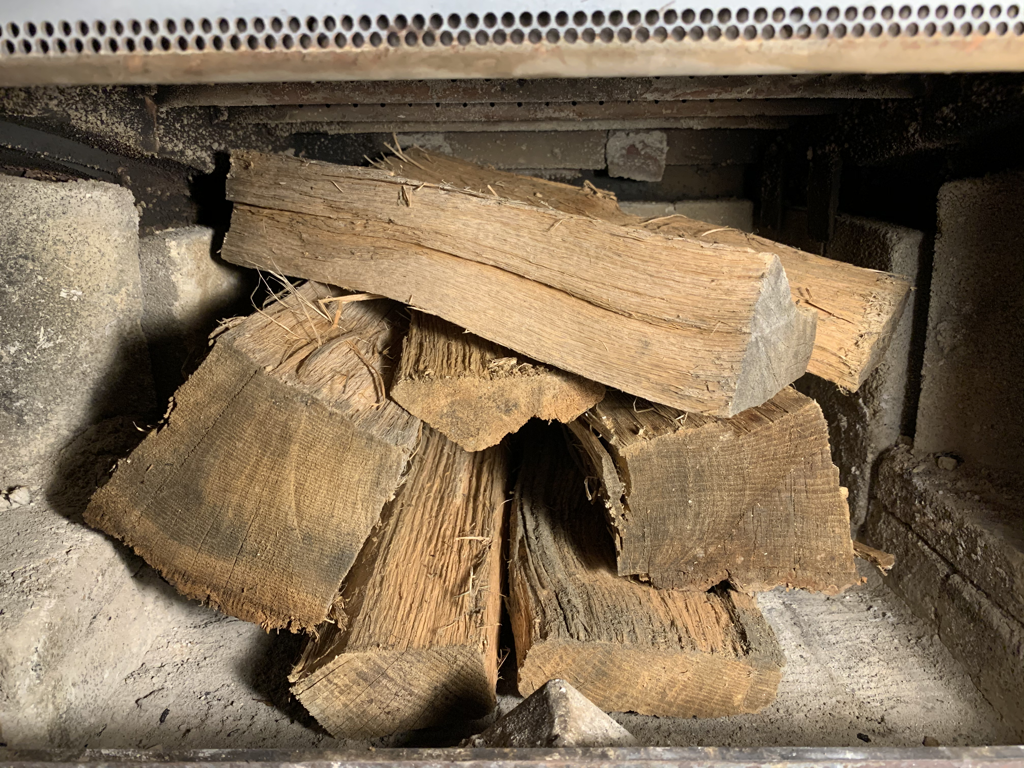
Firewood
Topsoil
Perennials
 RSS Feed