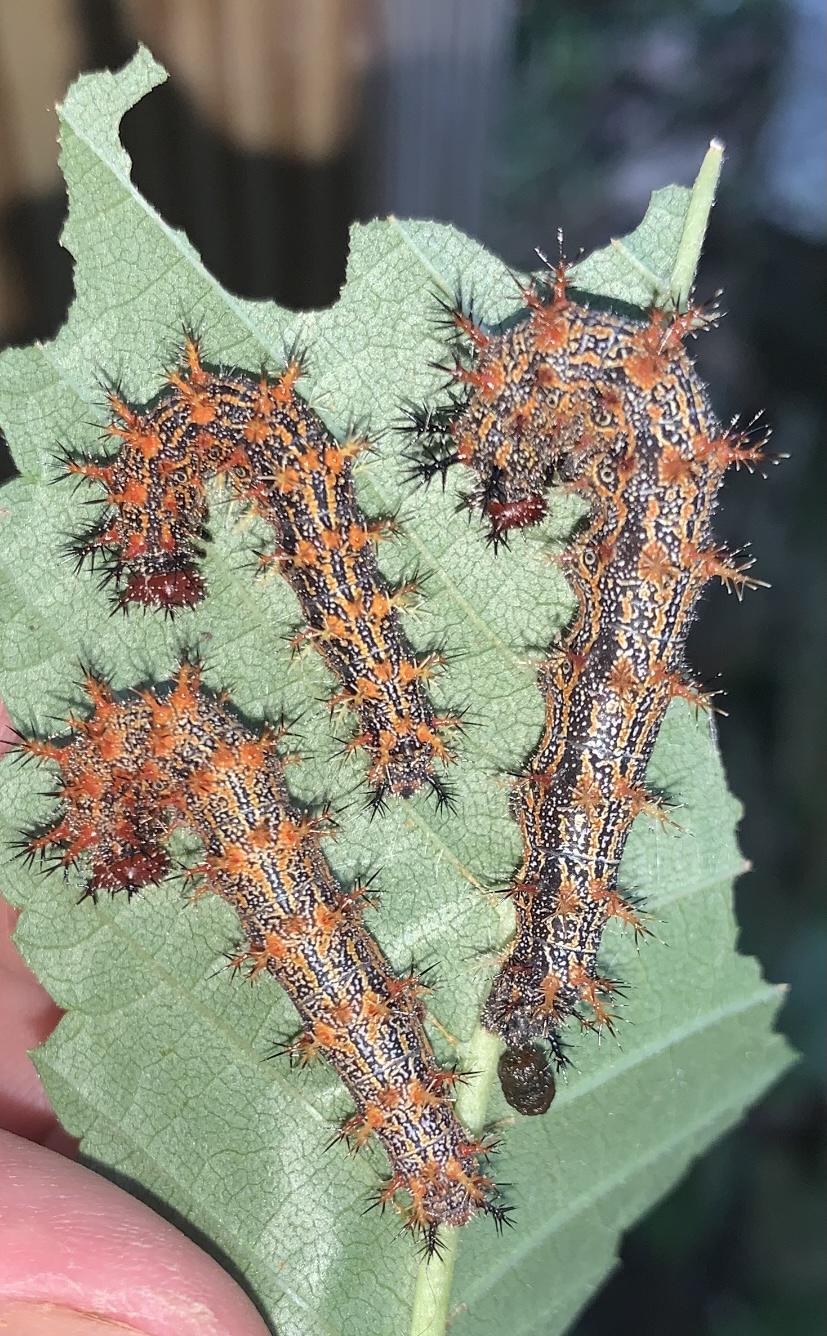
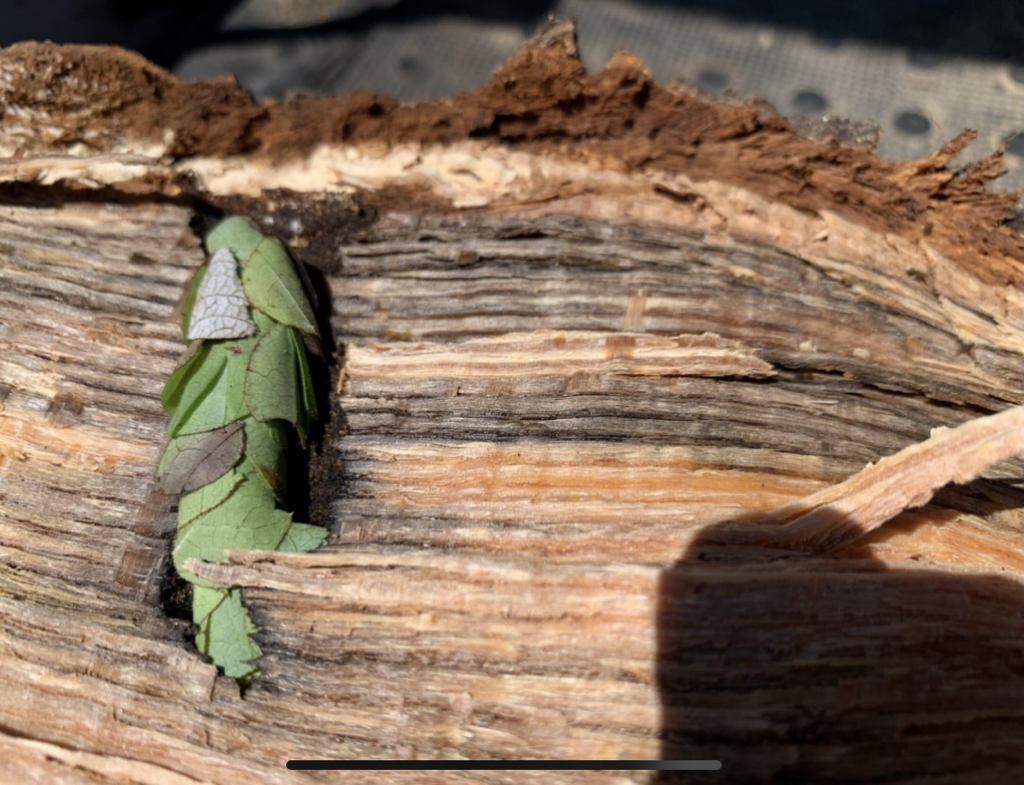
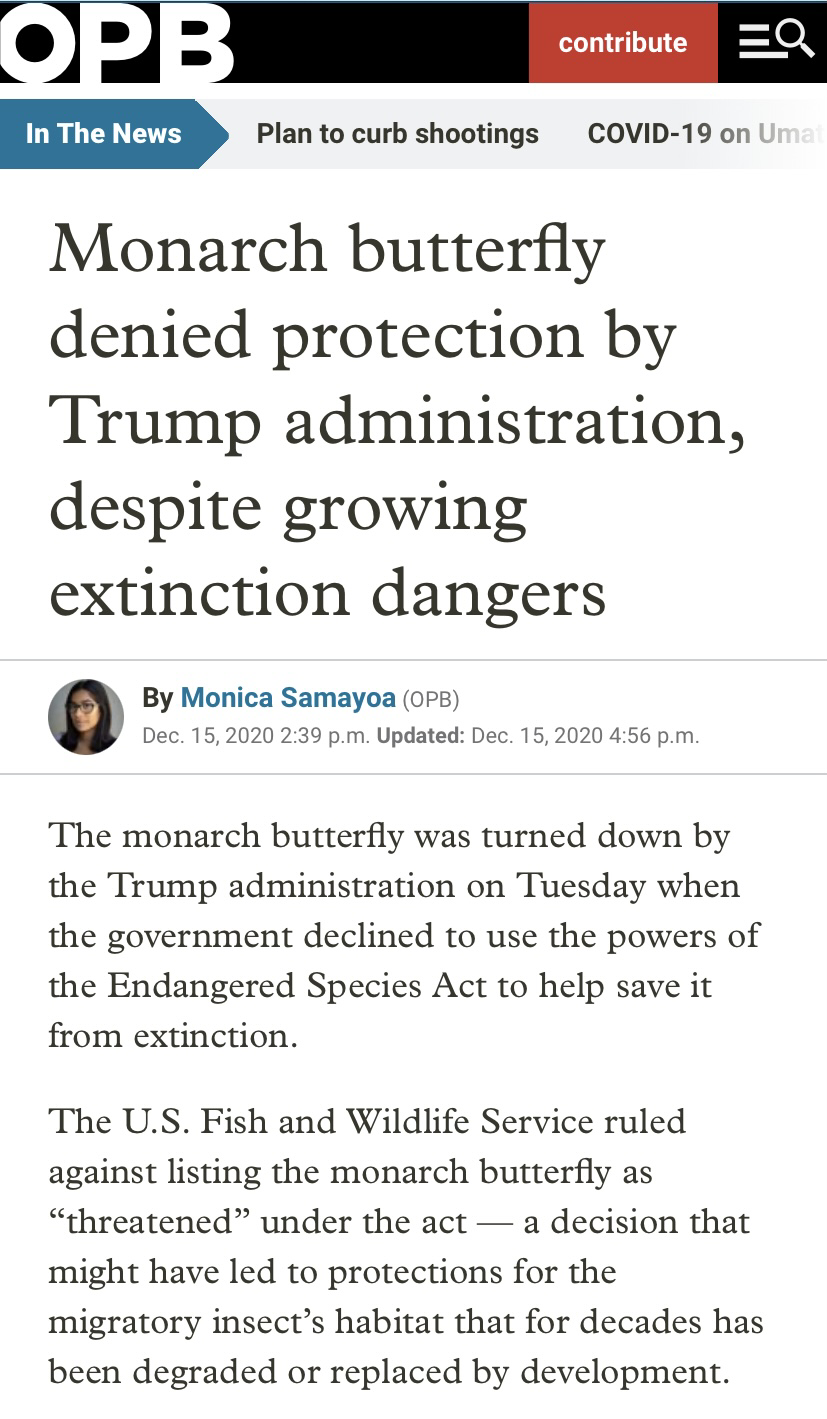
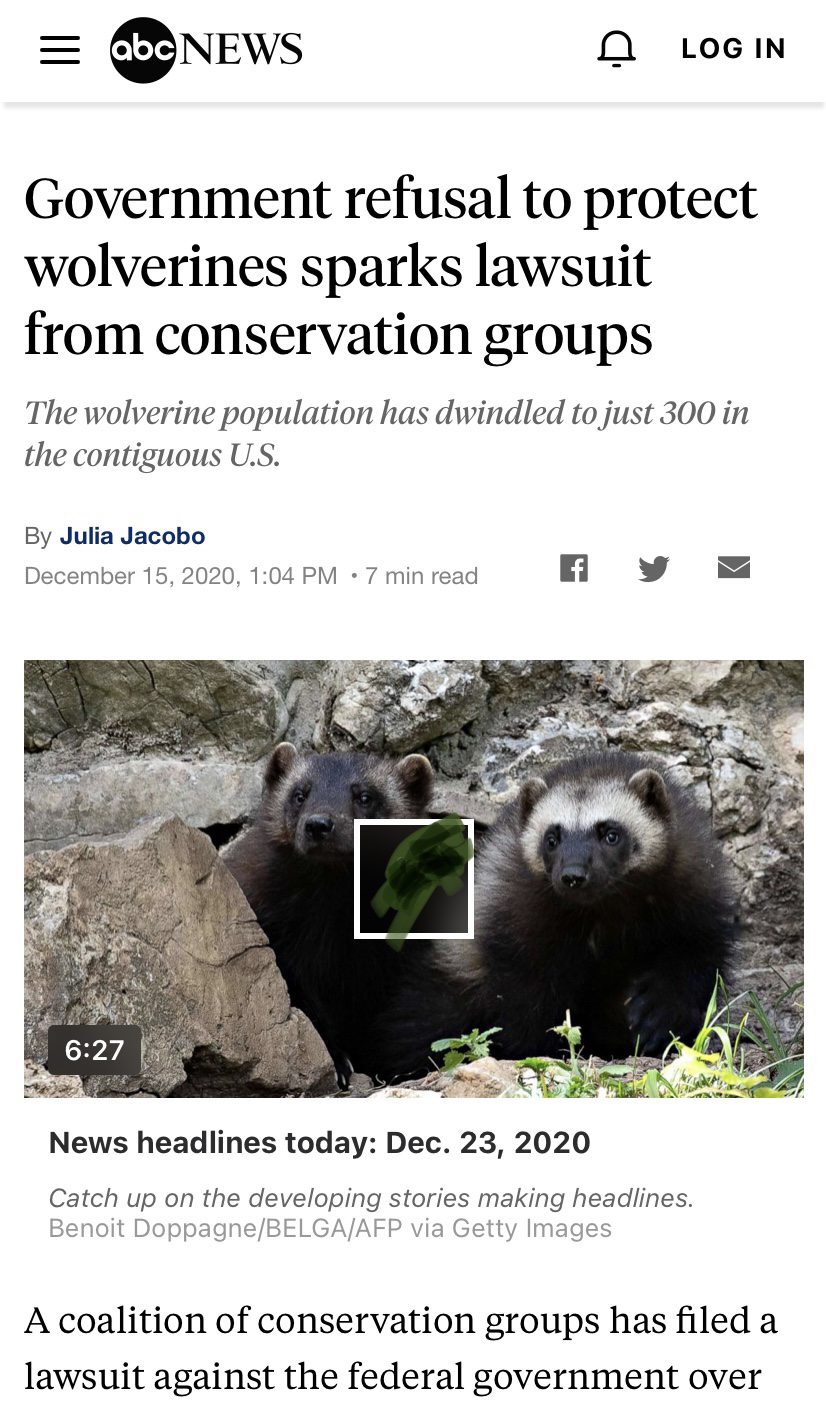
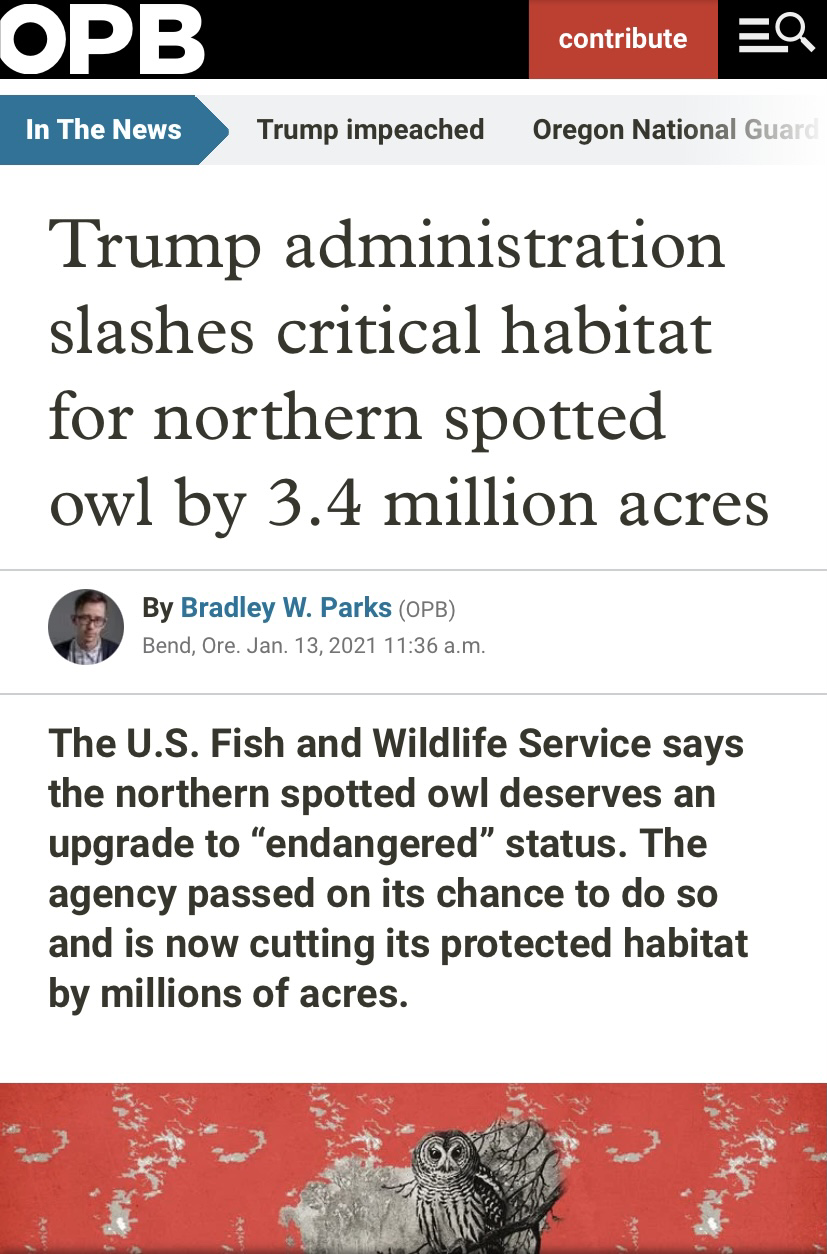
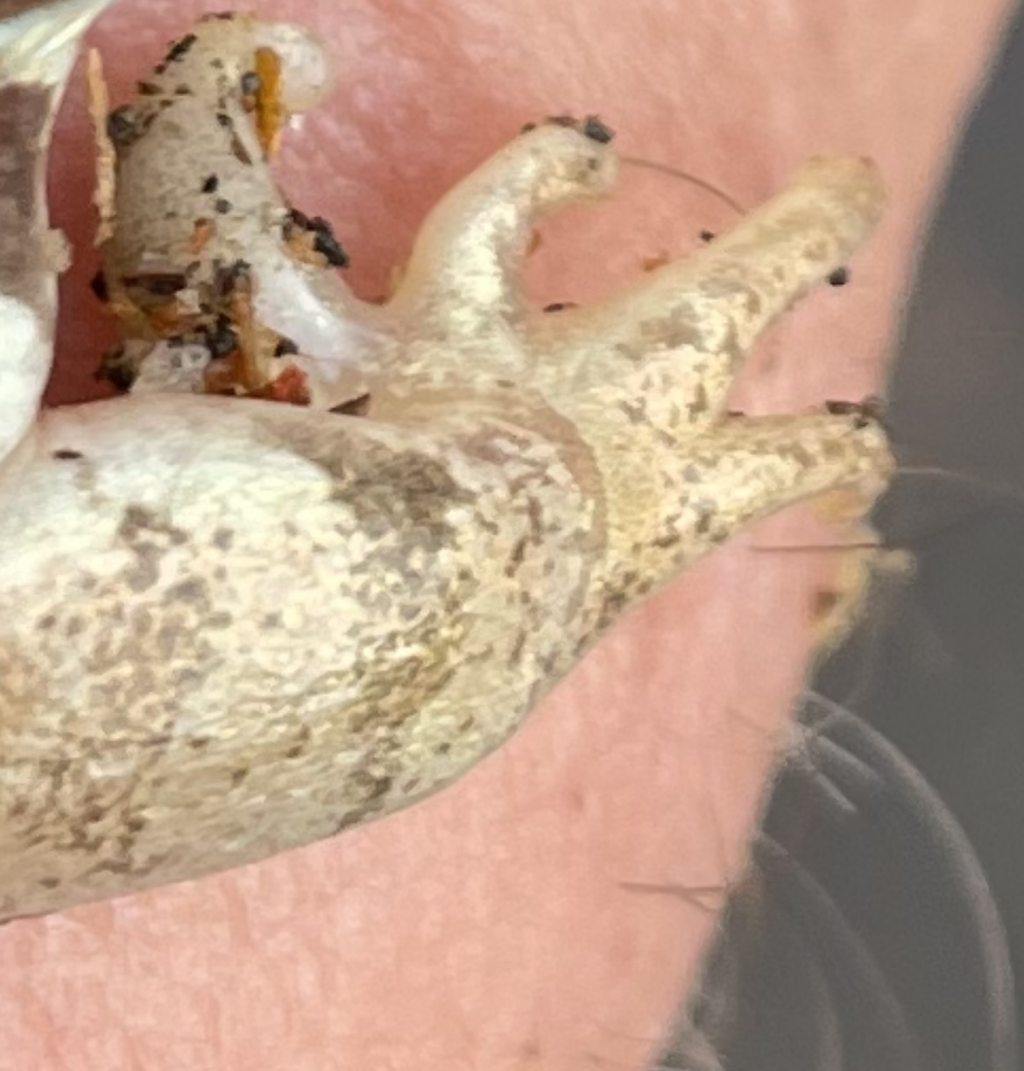
 Caterpillars I found on an elm seedling. Why do they do this? I’m pretty sure nobody knows, and before humans eradicate life on earth, it would be nice to first unravel some of the mysteries. Maybe after we do that, humans will have more respect for nature and ALL the creatures that share time and space with us. We were splitting wood this summer and found this pupating insect, name unknown. Look closely and you’ll observe sophistication and ingenuity on a level uncommon. How? Why? Who? How many millions of years to evolve??? I couldn’t find the answer to these questions despite emailing scientists. Also this month- just one more of dozens of assaults on the environment, tRUMP again refuses to do what he needs to do before it’s too late for yet another endangered species: Link to this article: https://abcnews.go.com/US/government-refusal-protect-wolverines-sparks-lawsuit-conservation-groups/story?id=74736638&cid=clicksource_4380645_9_mobile_web_only_headlines_headlines_hed TRUE TO FORM, and entirely predictable, tRUMP refused to agree to a ban on using murderous mile-long drift nets off California’s coast. These nets trap EVERYTHING in them, drowning all mammals, turtles, and non-target fish analogous to using dynamite in the ocean. Kill everything and pick out of the pile of dead bodies the fish you want to sell and discard all the other forms of life. THANKS, tRUMP: Link to article (you know it’s bad when it ends up in the Connecticut post): https://www.ctpost.com/news/article/Trump-vetoes-Calif-fishing-bill-over-seafood-15840519.php?src=rdctppolitics Link to article: https://www.wilderness.org/articles/blog/5-ways-trump-attacking-environment-his-way-out-door# Oh, tRump isnt done destroying our environment on his pathetic skulking out the back door of the White House. He has JUST put more nail in the Spotted Owl’s coffin. GO AWAY DOTARD!!!
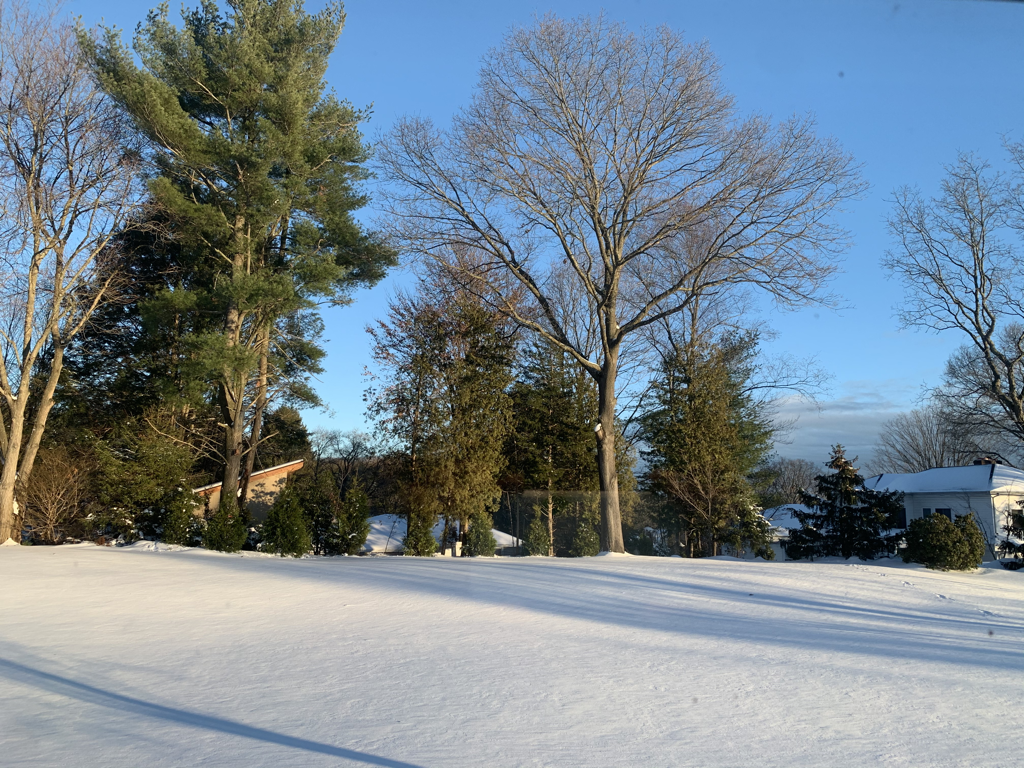
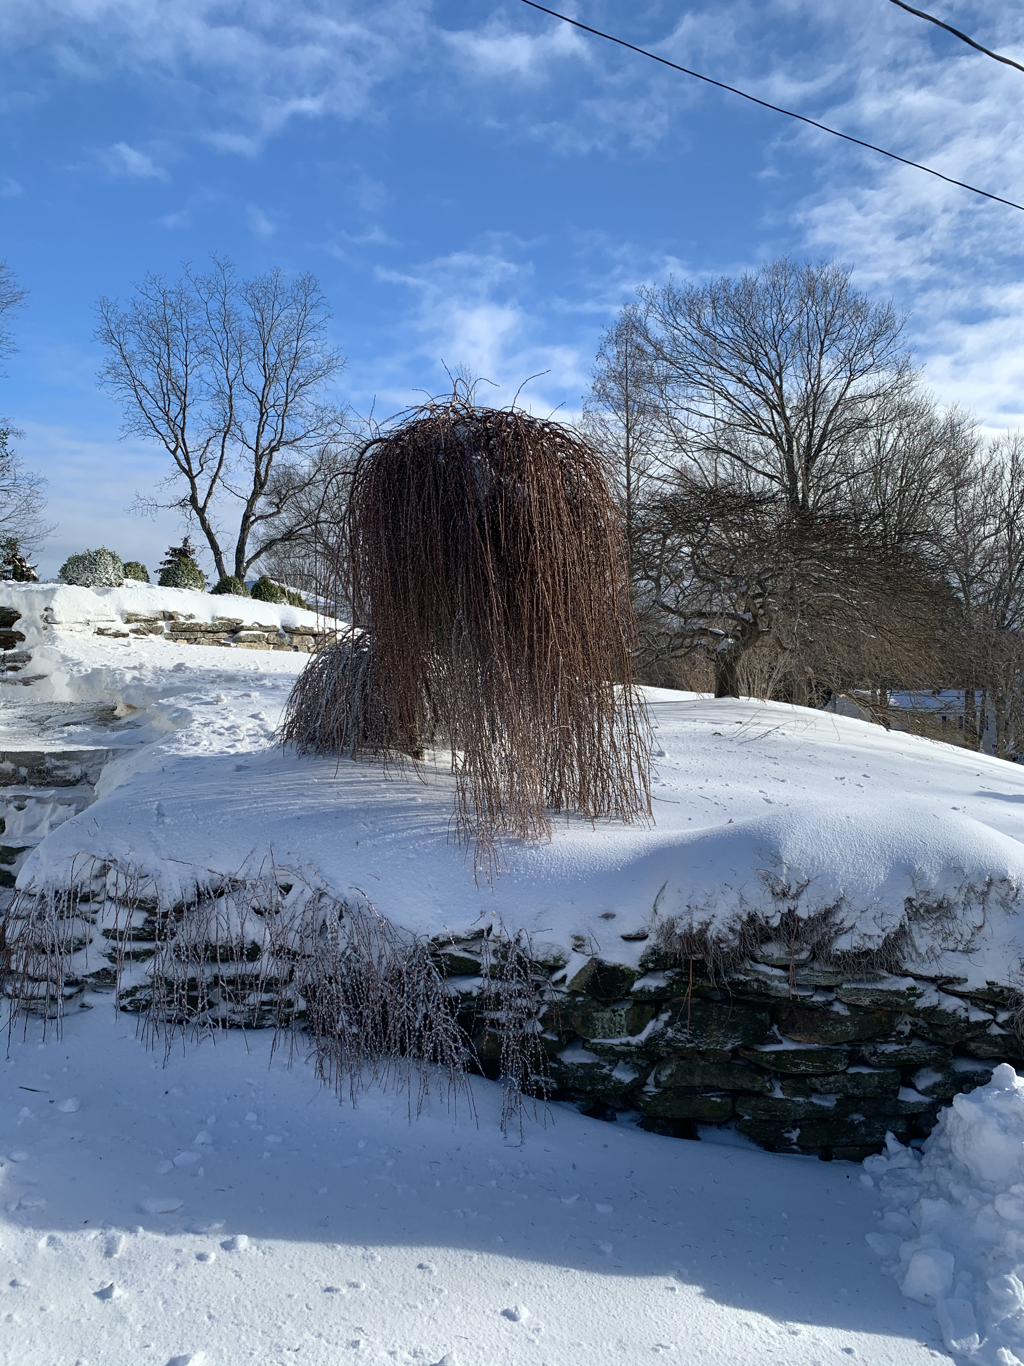
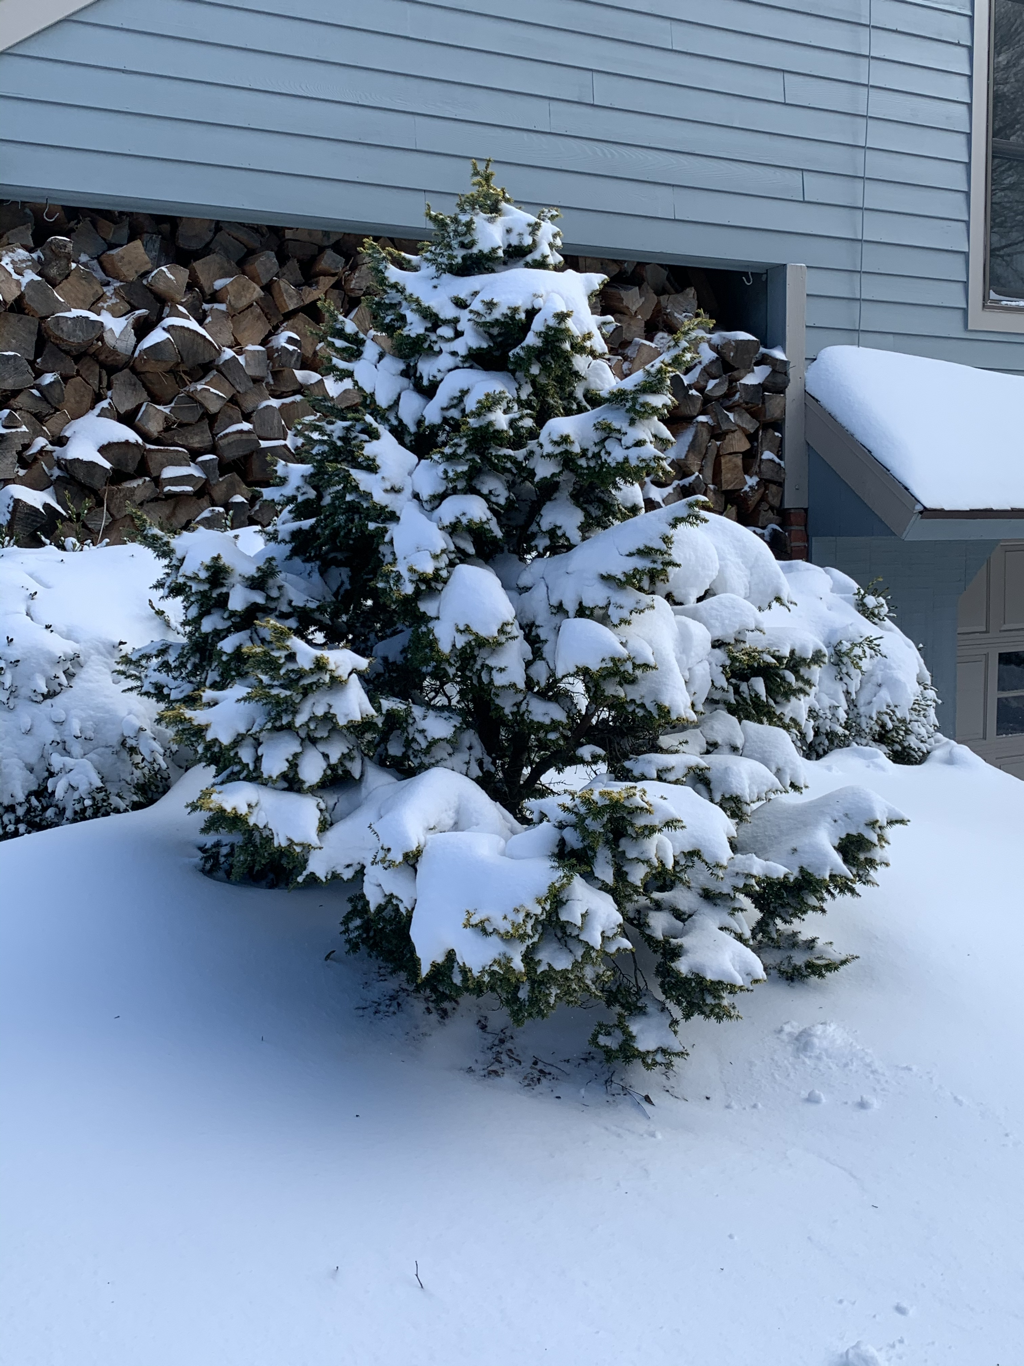
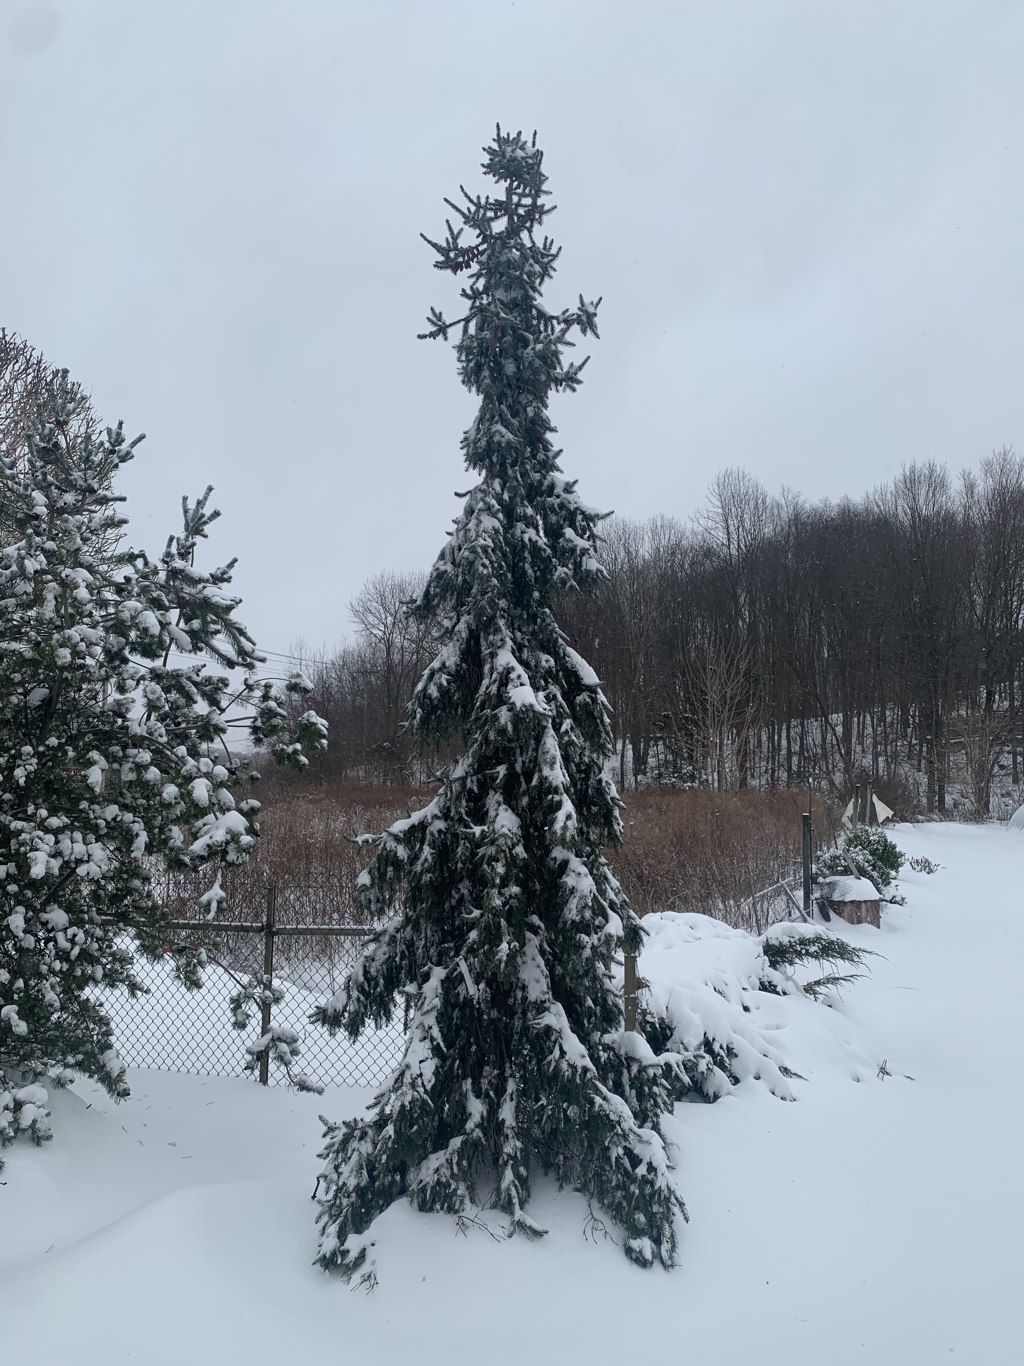
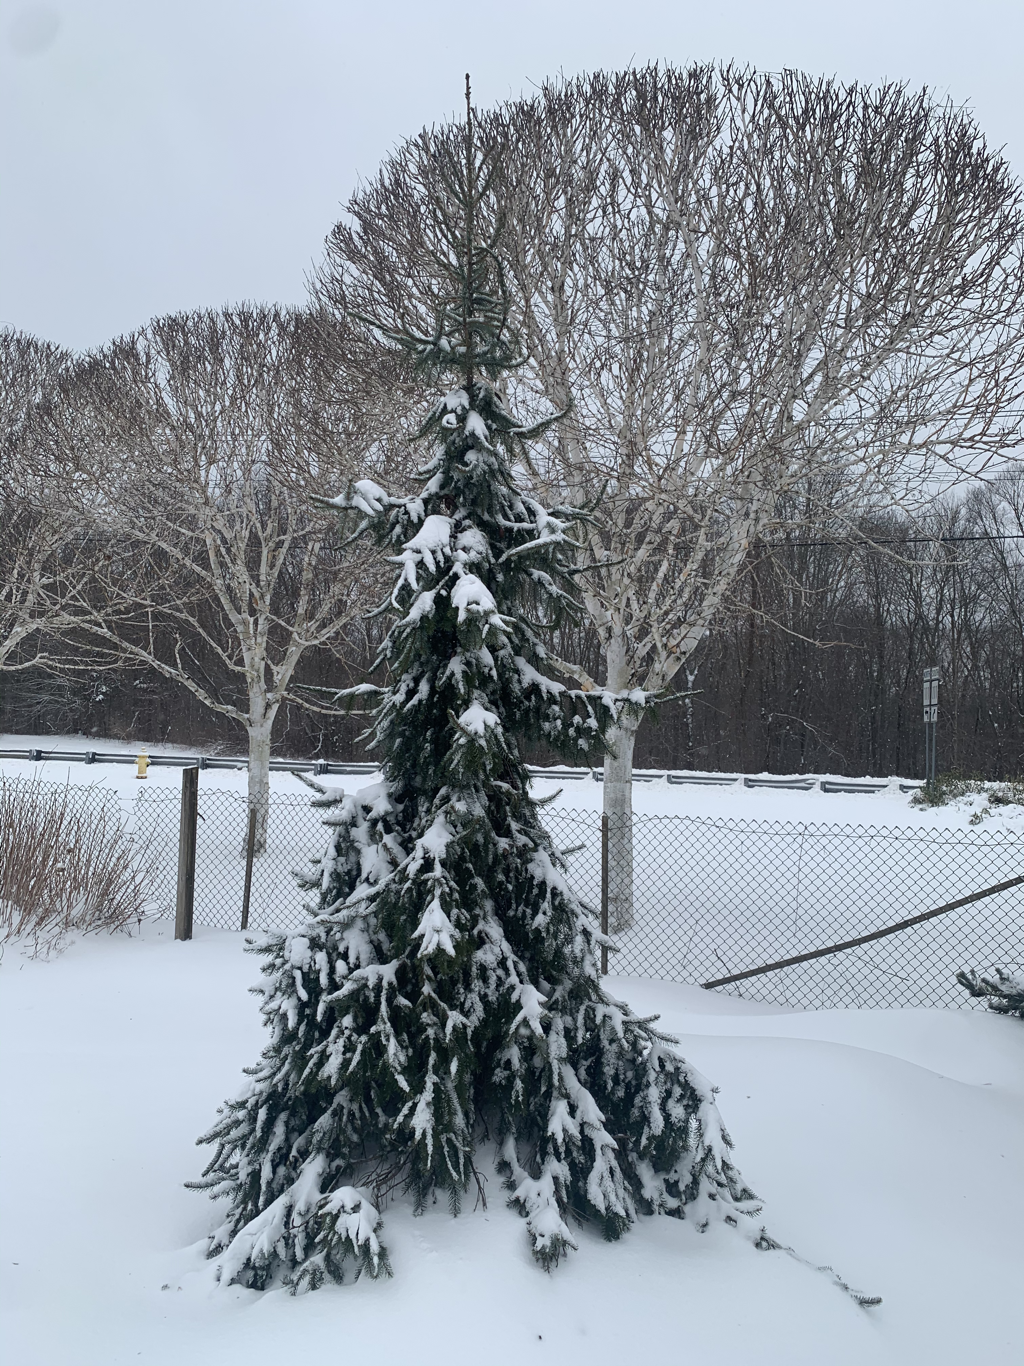
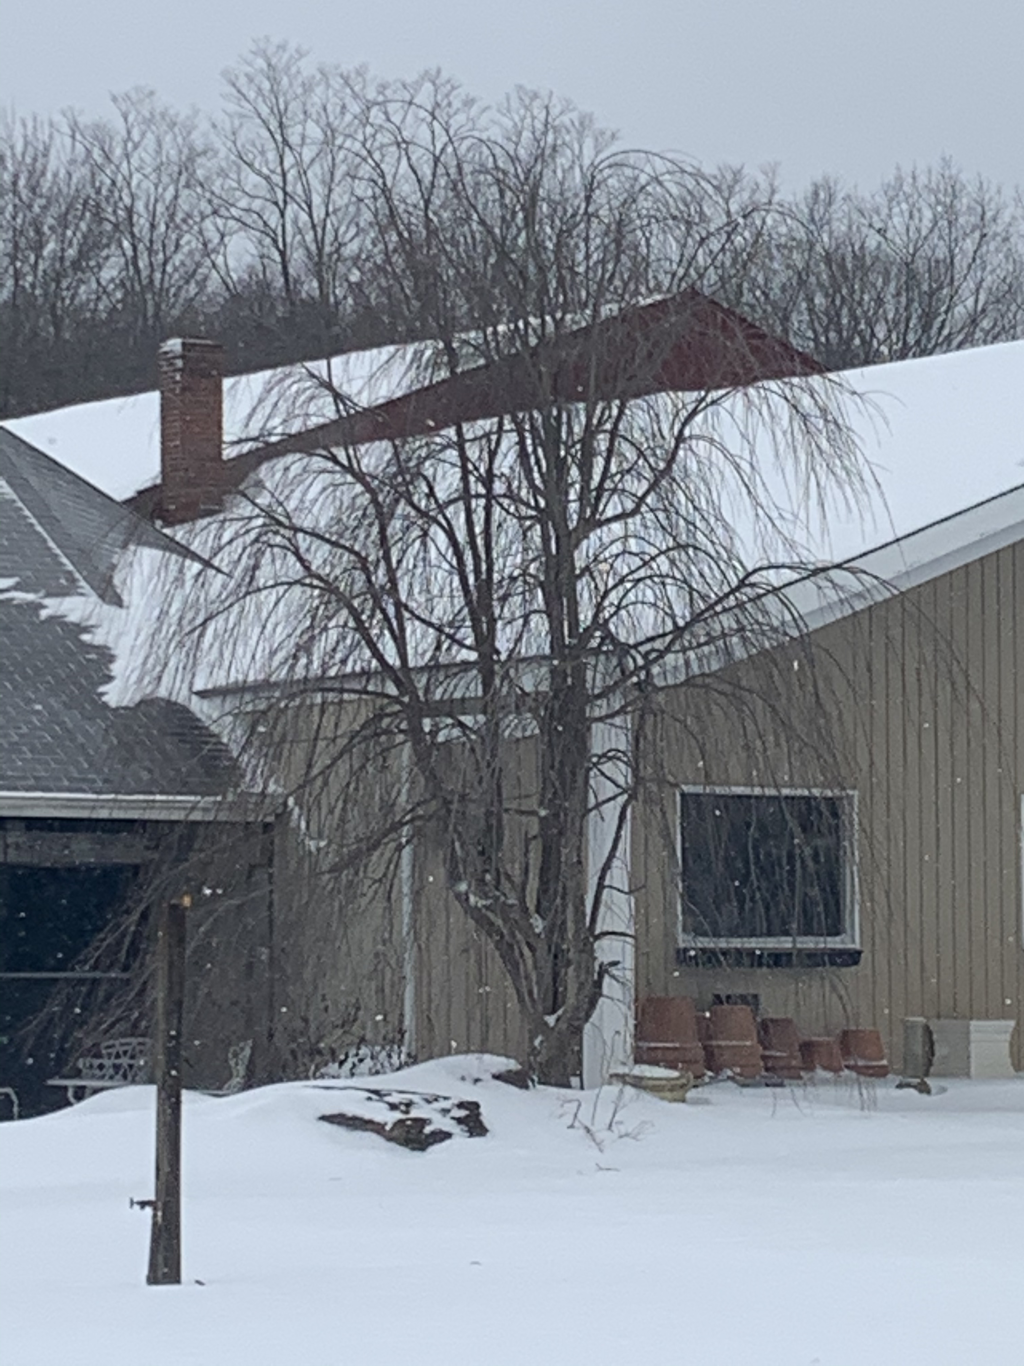
I’d say we got about 12” yesterday, blanketing everything the way snow always does despite 40-50 mph winds. Weeping larch draping itself over a stone wall yesterday. Rusty-brown branches stand out all winter on this insect and disease deer proof conifer. Always an interesting plant 24/7/12. Tsuga canadensis ‘Aurea nana’ I bought as a 2” graft in 1987. Ive had it at one house, then another, now this house. How many of you folks have had a tree for 33 years in three different houses? What is the value of this small specimen? Needless to say, it’s a priceless, irreplaceable tree that is just one of the amazing things to look at all year long and especially after a light fluffy snowstorm. Two weeping Serbian spruce- Picea omorika ‘pendula’ standing proud yesterday. Strictly erect central leader with upswept branches catching the snow like frosting. On non-snow days, the silver-blue needle undersides mix with dark green topsides for a silver-green overall look. An easy to grow deer proof tree for good soil and full sun. Ok, so weeping Katsura tree is not a conifer, but it’s winter canopy is stunning nonetheless. If the nursery building were not there, it would look even better. Lit from below with five five watt 3,000 kelvin LED low voltage bulbs makes this tree shine at night- leaves or leafless.
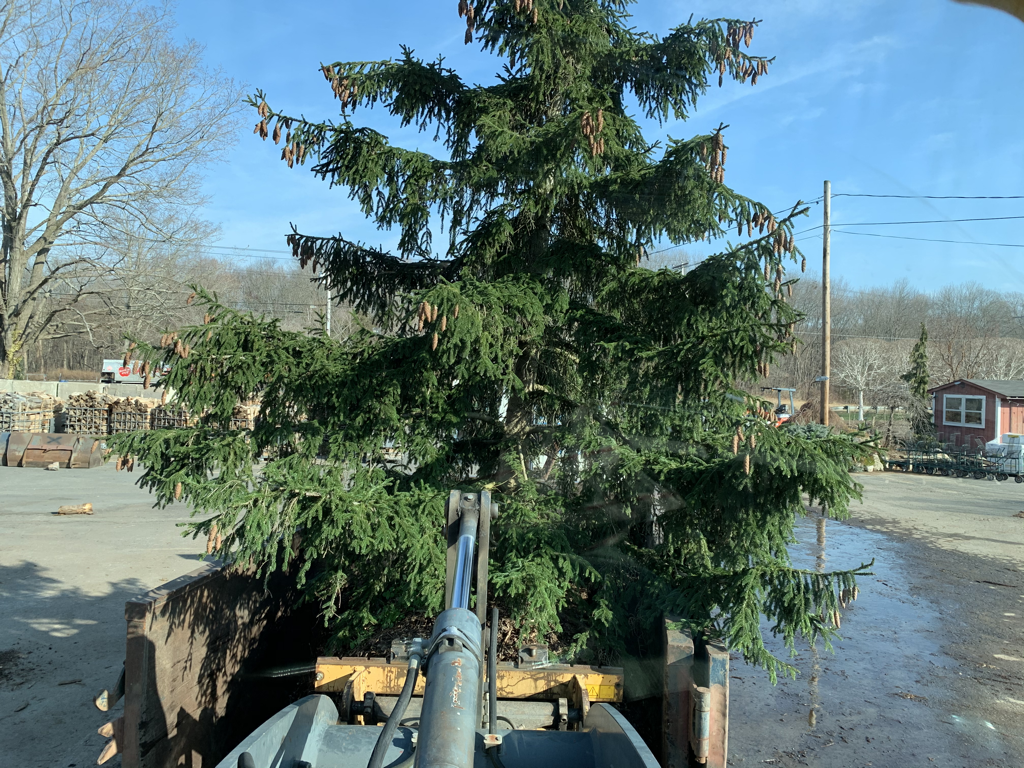
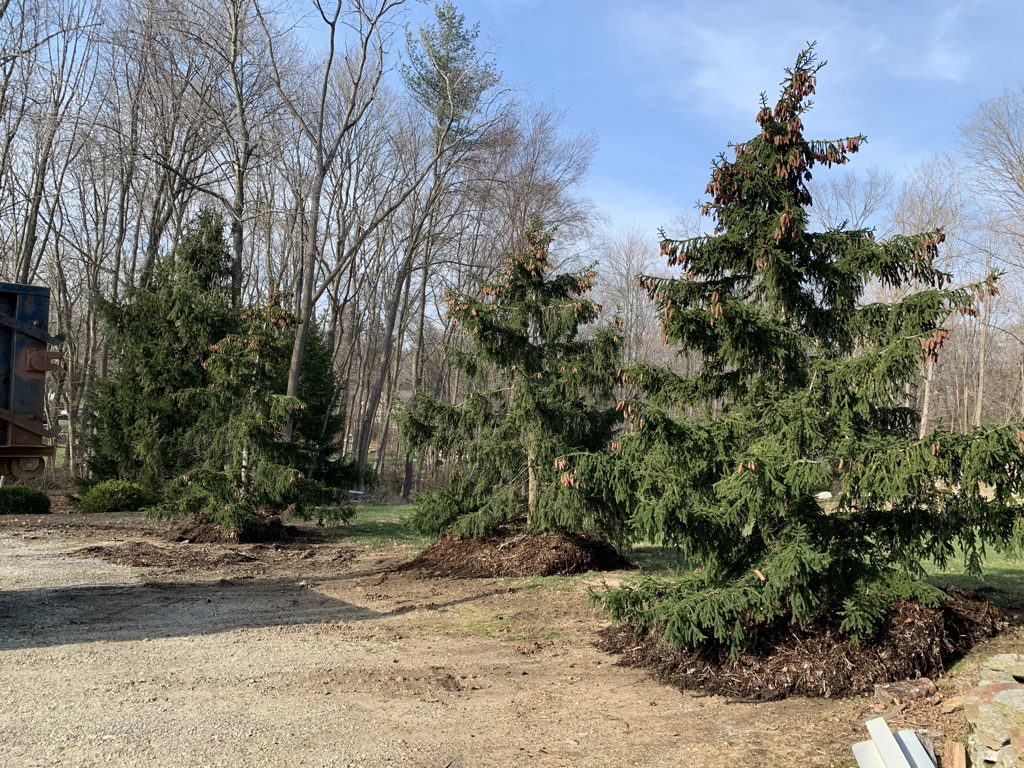
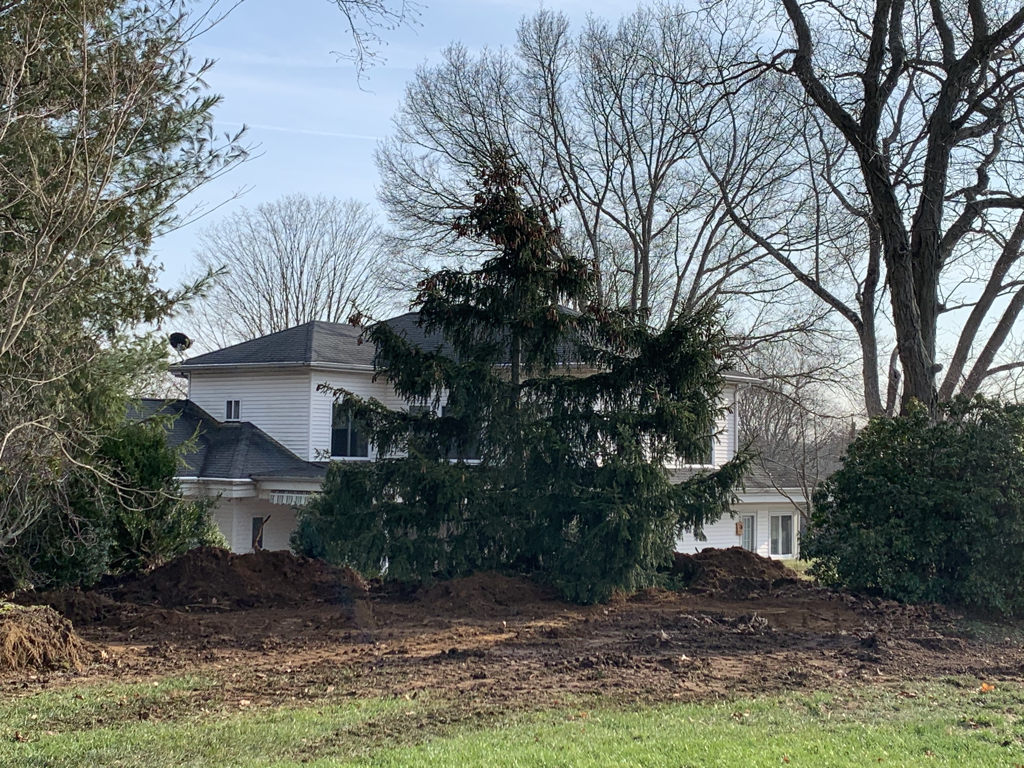
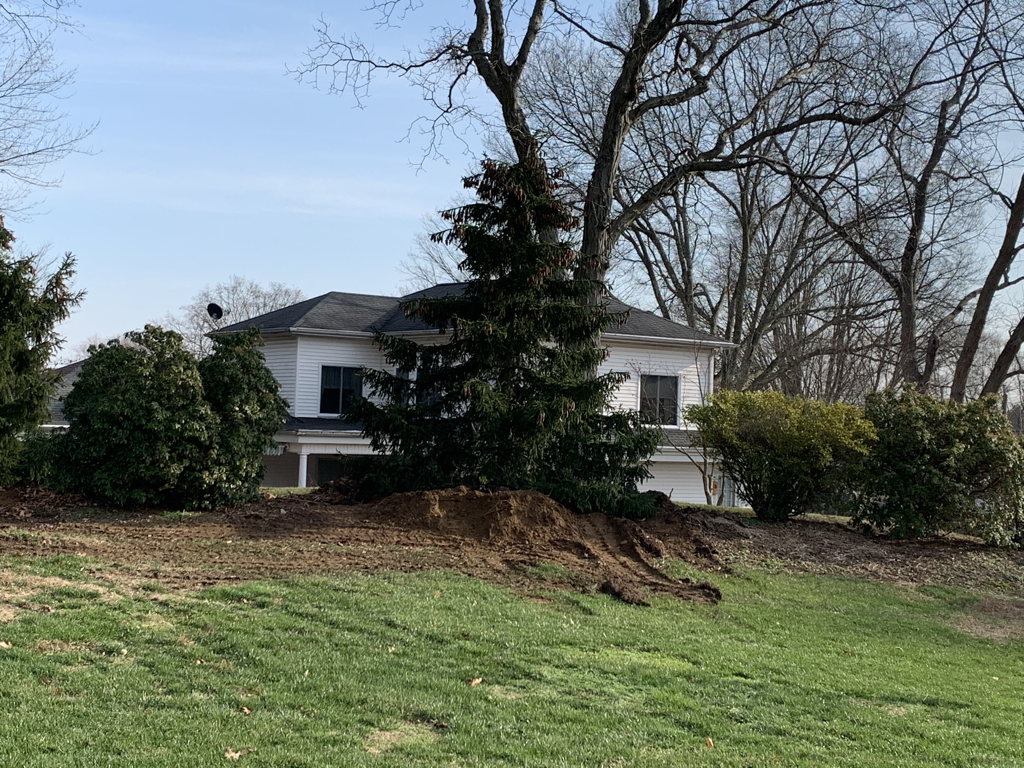
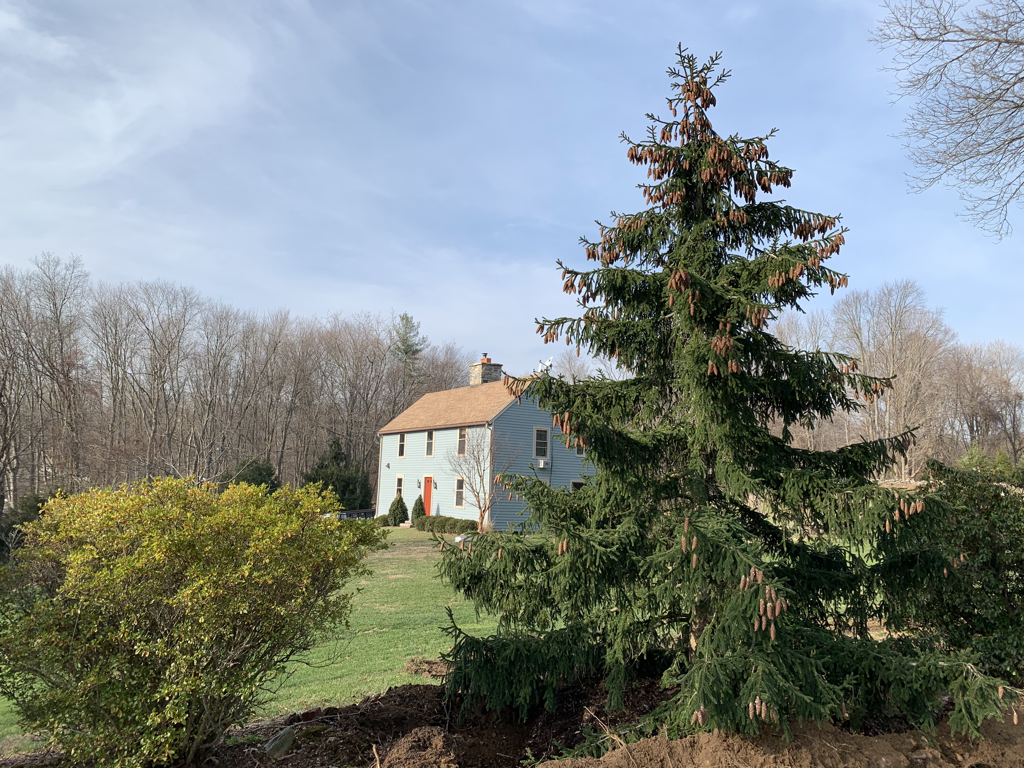
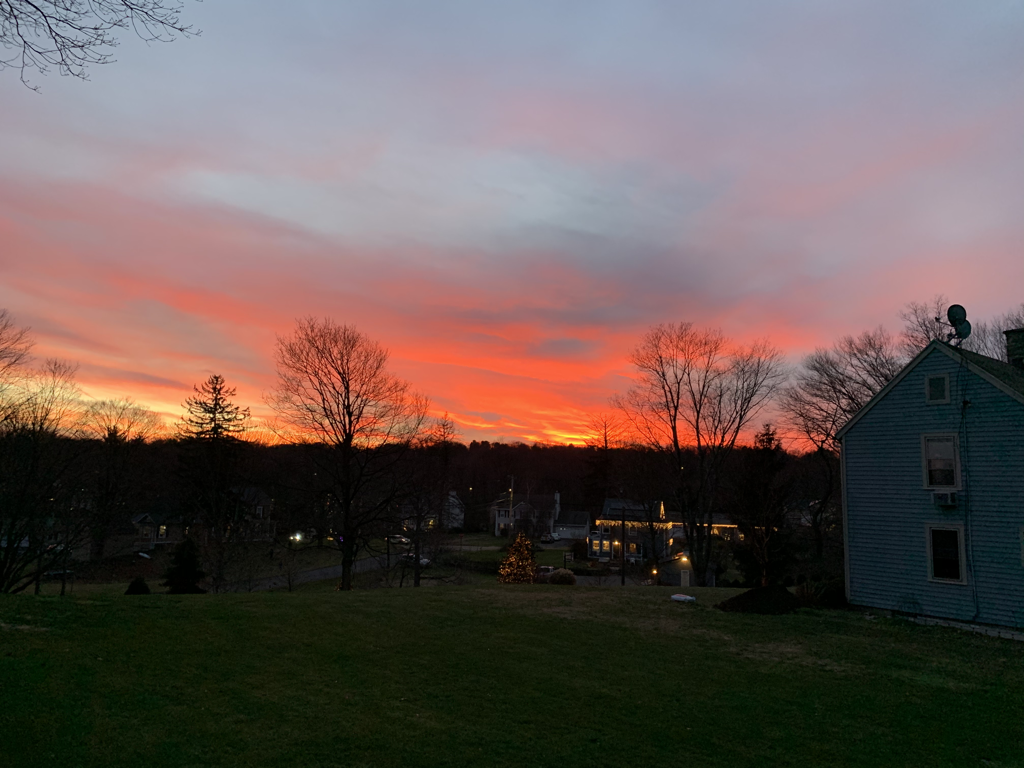
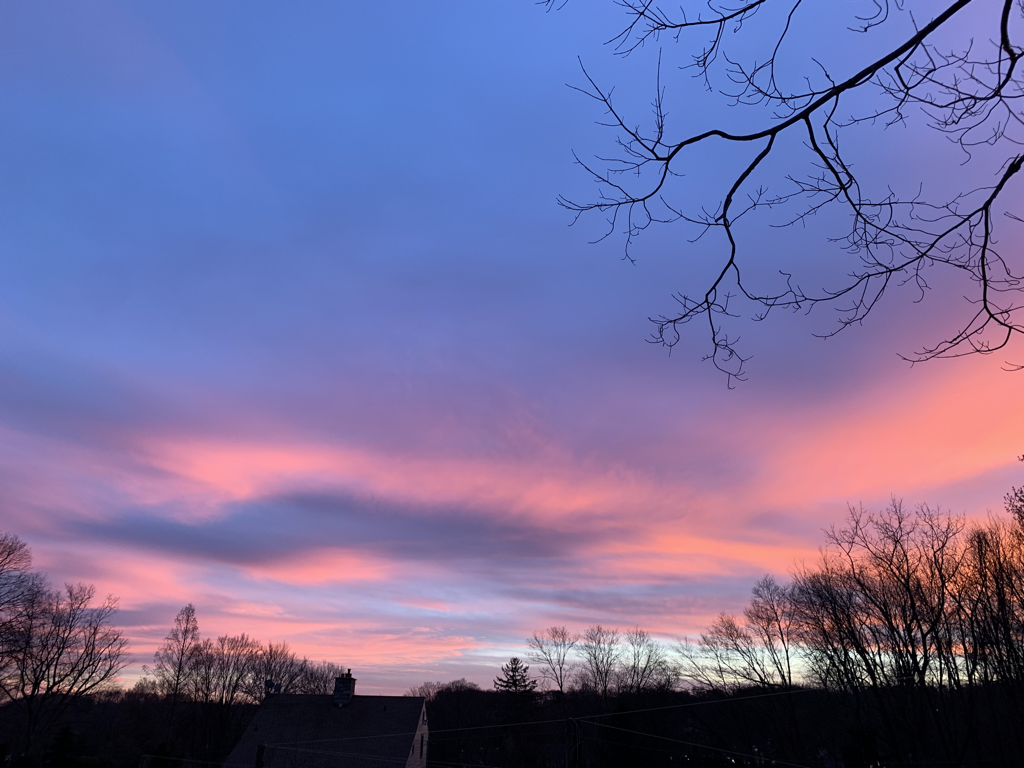
Before I fell in love with fall colors and the associated plants, I was a conifer guy- evergreens that show off all year long with just minor changes in color during the year, mainly in the spring when new growth pops out of tiny buds. Sometimes, male and female cones look like little flowers. My collection of conifers grew and grew, literally. Most of my collection sold and some failed and died, preferring 6000’+ altitudes to the measly 600’ we have in Trumbull. The abies genus (firs) HATE living here with very few exceptions. I never had luck with cryptomeria, and some of the cypress just hate me. I don’t even sell blue spruce anymore because of a needle-shedding fungus called “needle cast.” The needles on the bottom turn from blue to pink then to brown and drop off onto the ground leaving ugly bare branches. Too bad because hoopsi, thompsenii, and others always were the best of the best. It was so sad to watch them decline. Sure, I could spray them but introducing chemicals into the environment is a thing of the past for me, which brings me to the shining star of my story: Picea orientalis. I’ve had this tree and it’s five sisters since 1995ish. Nobody bought them, seeing no reason to spend 30% more than a Norway spruce or 50% more than a white pine. I guess I didn’t do such a great job selling them. These have been shuffled from place to place on the nursery grounds and nobody ever saw value in them. Im a flaming environmentalist, disgusted at mankind’s abuse and disregard for insects, birds, and non-human cohabitants of our place in space and time, and everything I plant on my property needs to support these friends in one way or another. Well, this fall about two months ago, my eye was caught by an interesting never before sight- hundreds of birds attacking these trees for the nourishing seeds within the numerous cones. Chickadees, wrens, finches of all types, and unknown birds swarming all over the tops of these trees. I never saw anything like it before and I instantly decided that I would find a spot for these trees at home somewhere. I’m impressed with this tree for other reasons though. I’ve never seen a needle discolor. The deer do not bother it. It does ok with no care. No insects molest it. I don’t do much to them if anything. When I saw that it sponsors the happiness of my feathered friends... well, I decided I’m going to start selling them again- I can’t be the only person who likes all these positive attributes. I am now remembering another unique thing about p. orientalis- when the new growth emerges in mid- may, the needle-covered new growth feels like a snake. Yup, firm, smooth, glossy, and slippery. It’s something that this tree does that no other conifer does. It’s cool!!! As I brought the trees home one by one, I then needed to figure out where to plant them. I don’t want to plug up the center of my yard, so planting them on the perimeter made sense for two of them. Plop plop they went into a place where a little more screening couldn’t hurt. View my neighbor gets is better than my view of this graceful tree with its upswept branches and dangling secondary sprigs. The sun rose this morning and those two giant beautiful RARE Picea orientalis now adorning my property and feeding my birds brings happiness to me. Now my son can do whatever we want in the back yard without unintentional prying eyes. After planting them yesterday, the sun was closing out the day in the most surrealistic way, and I was glad to be alive.
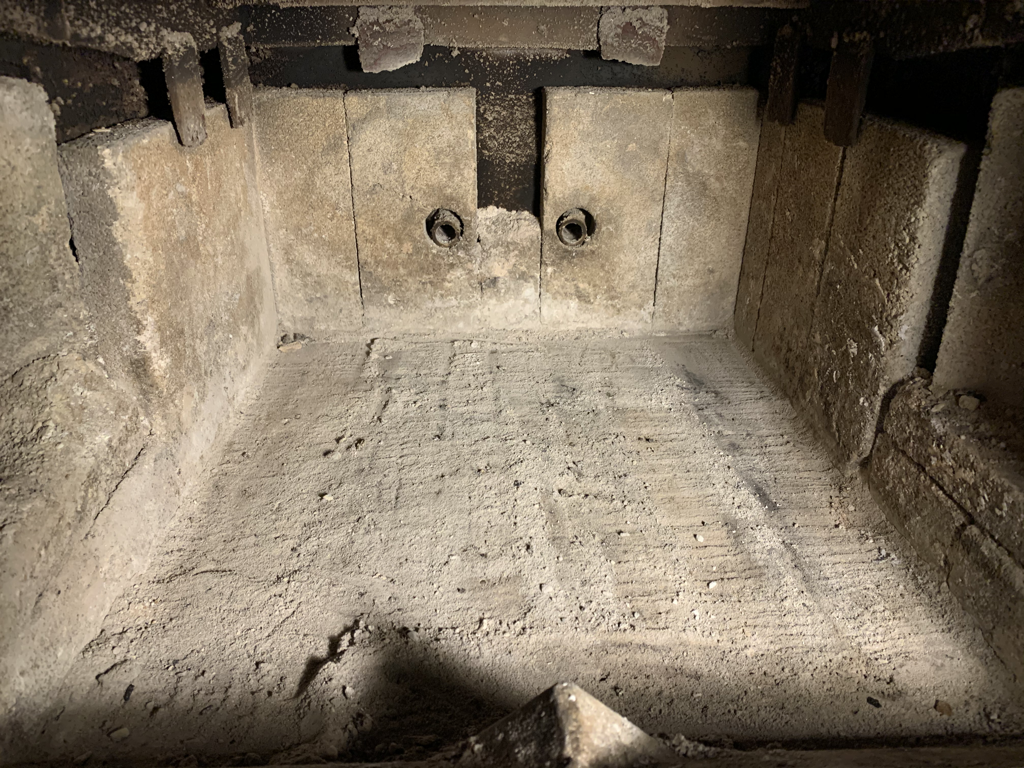
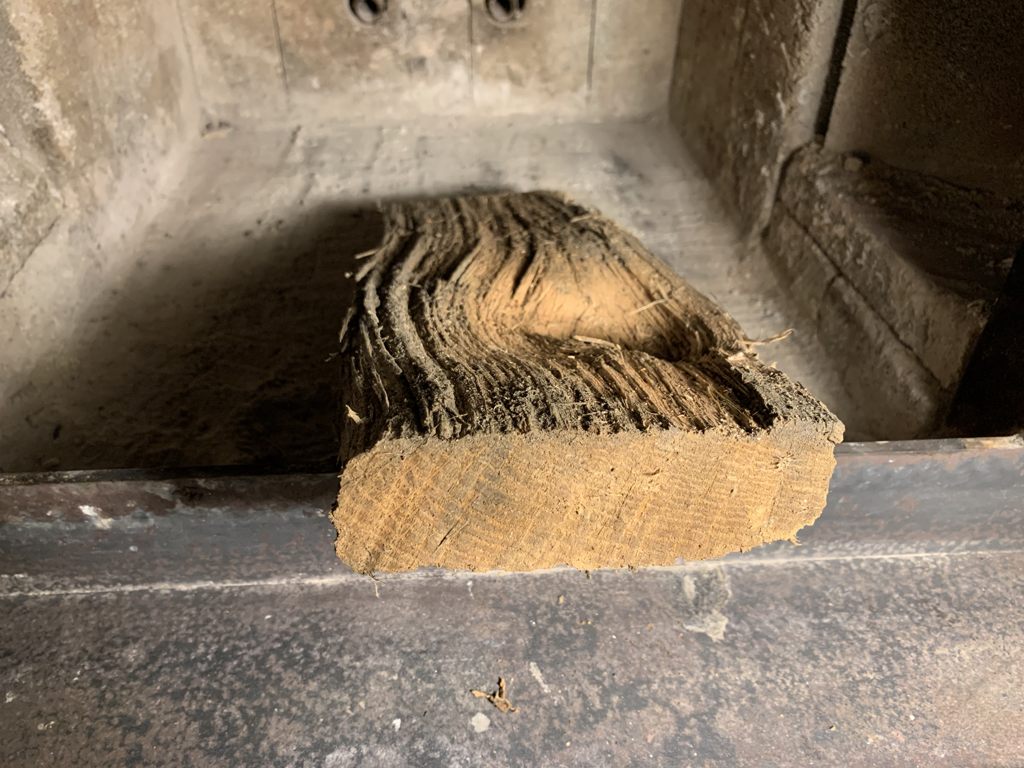
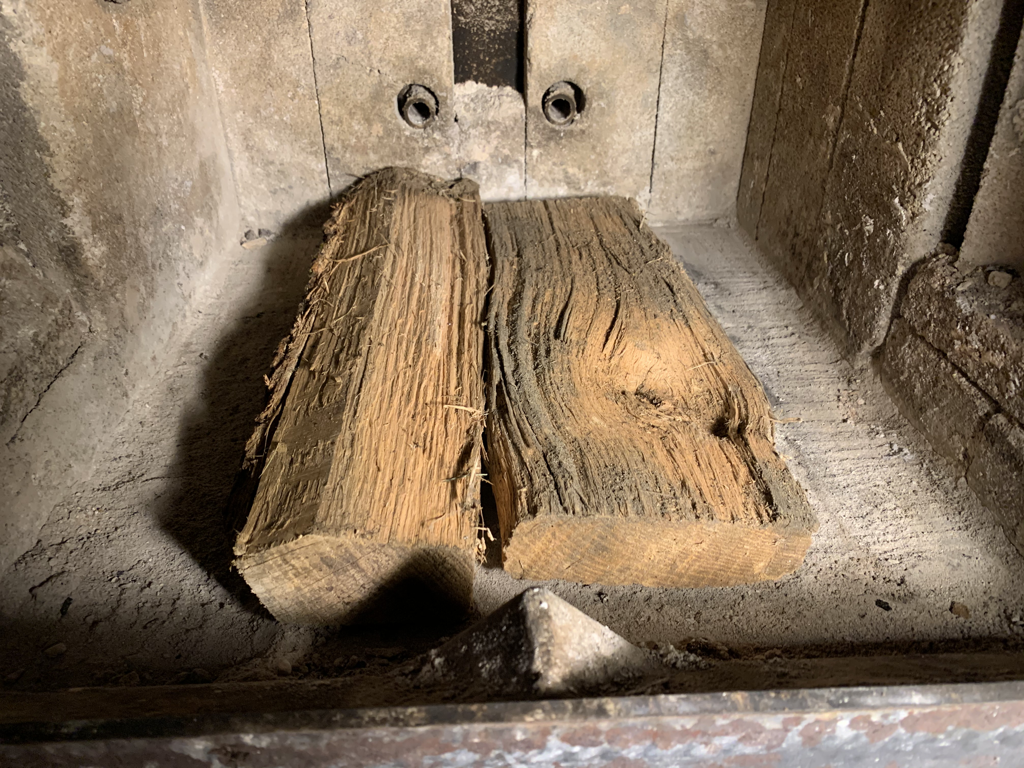
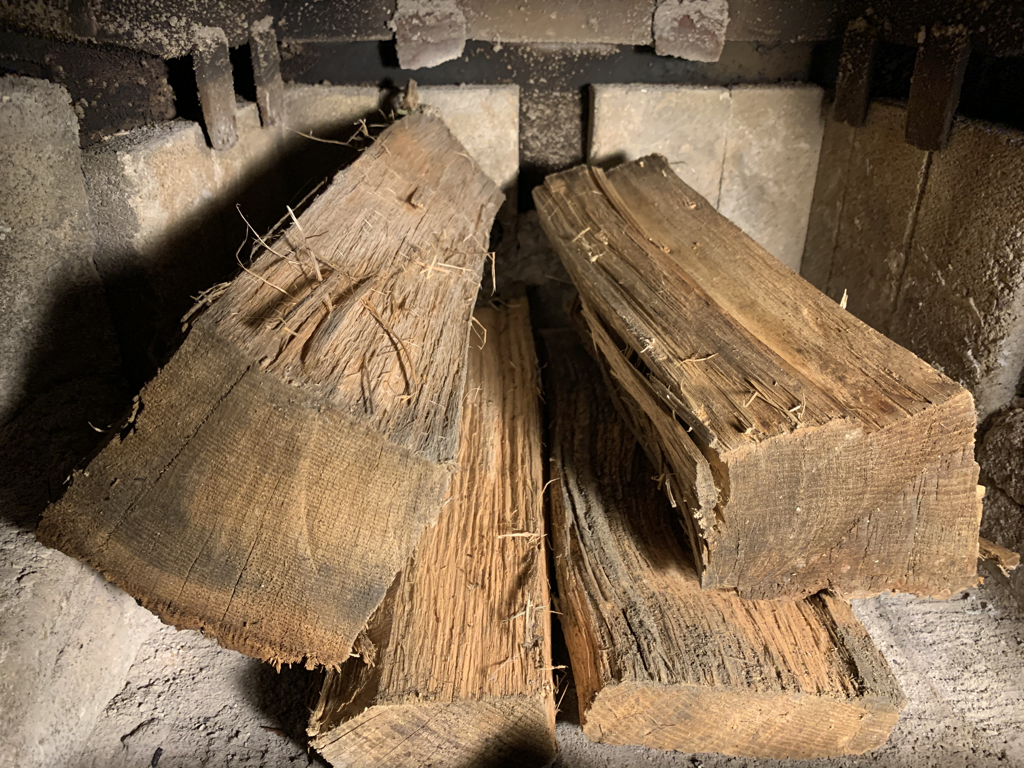
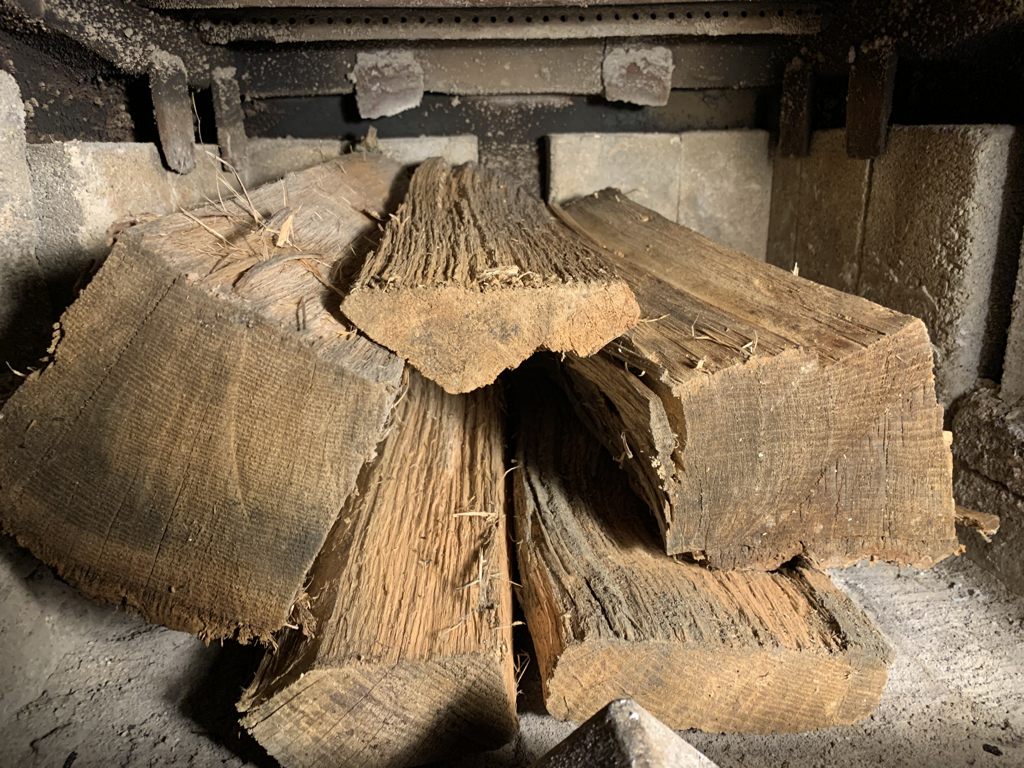
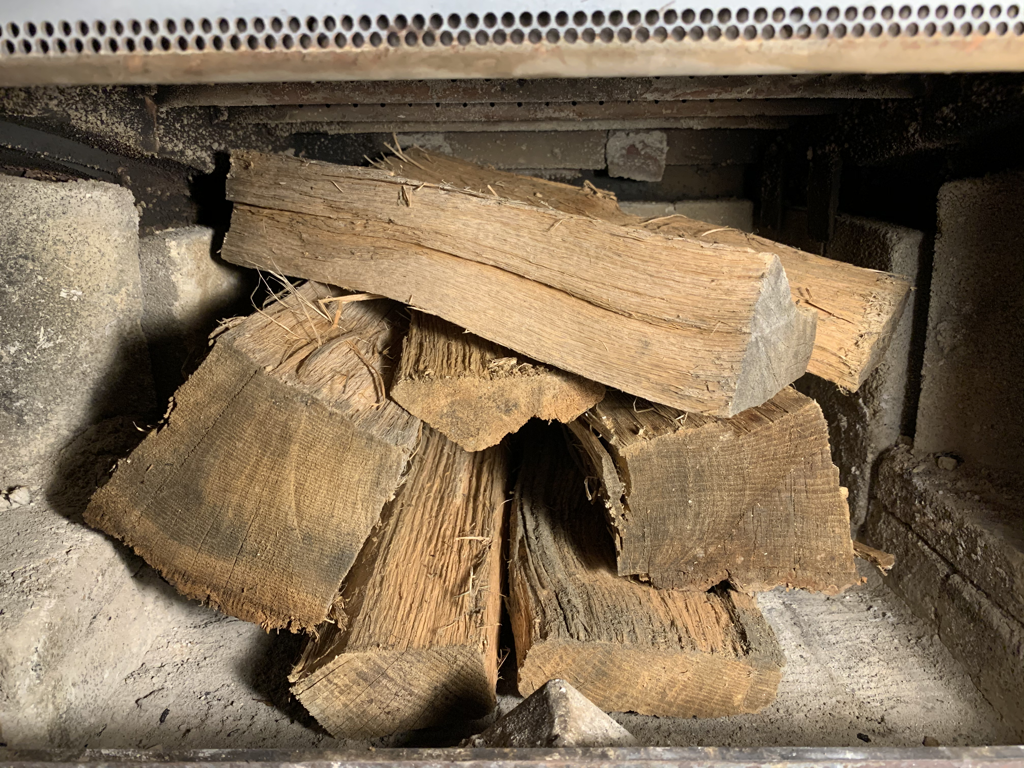
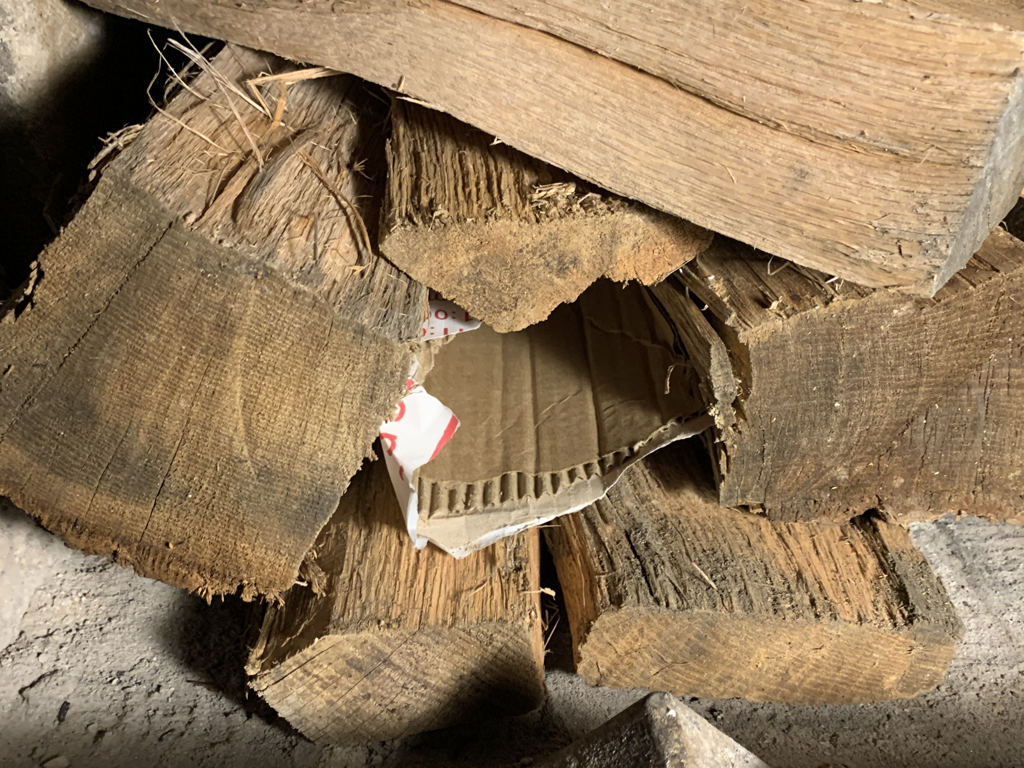
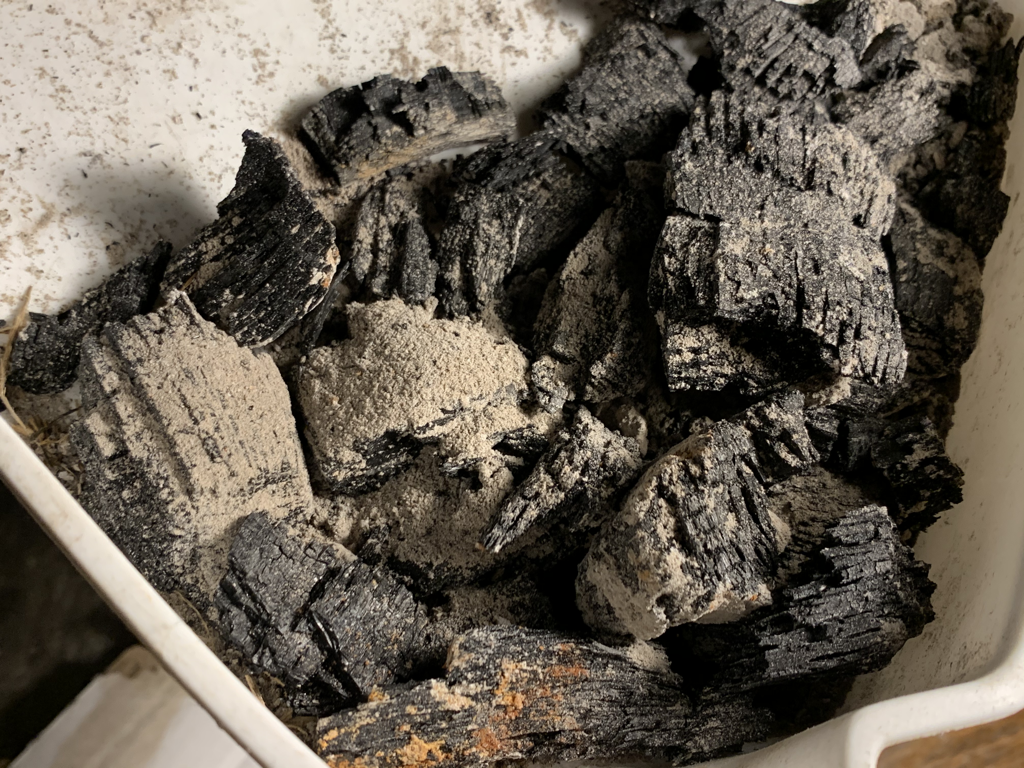
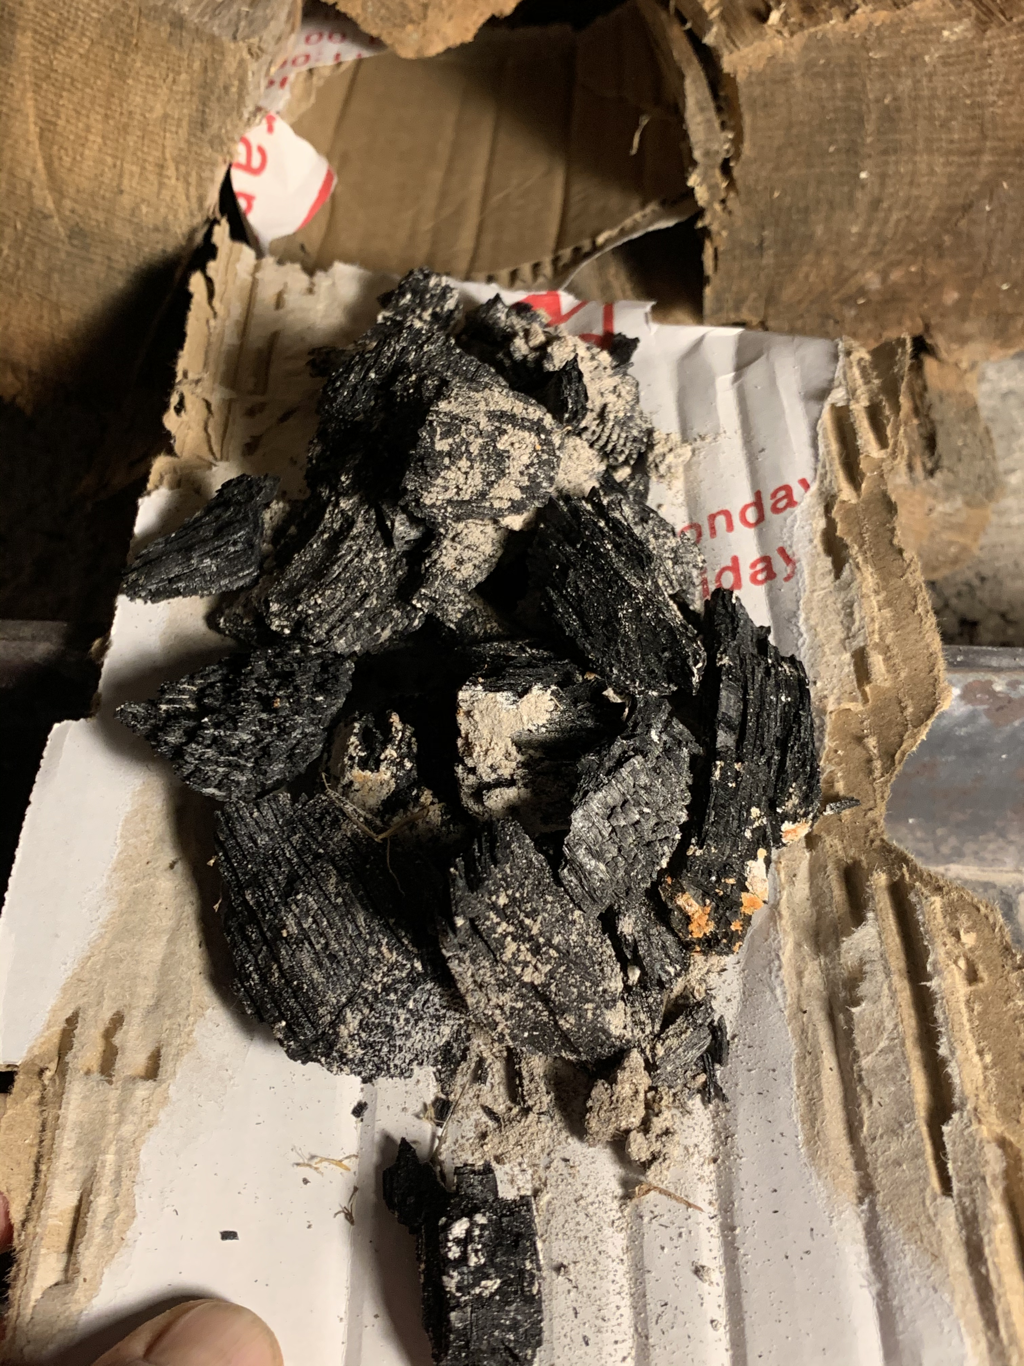
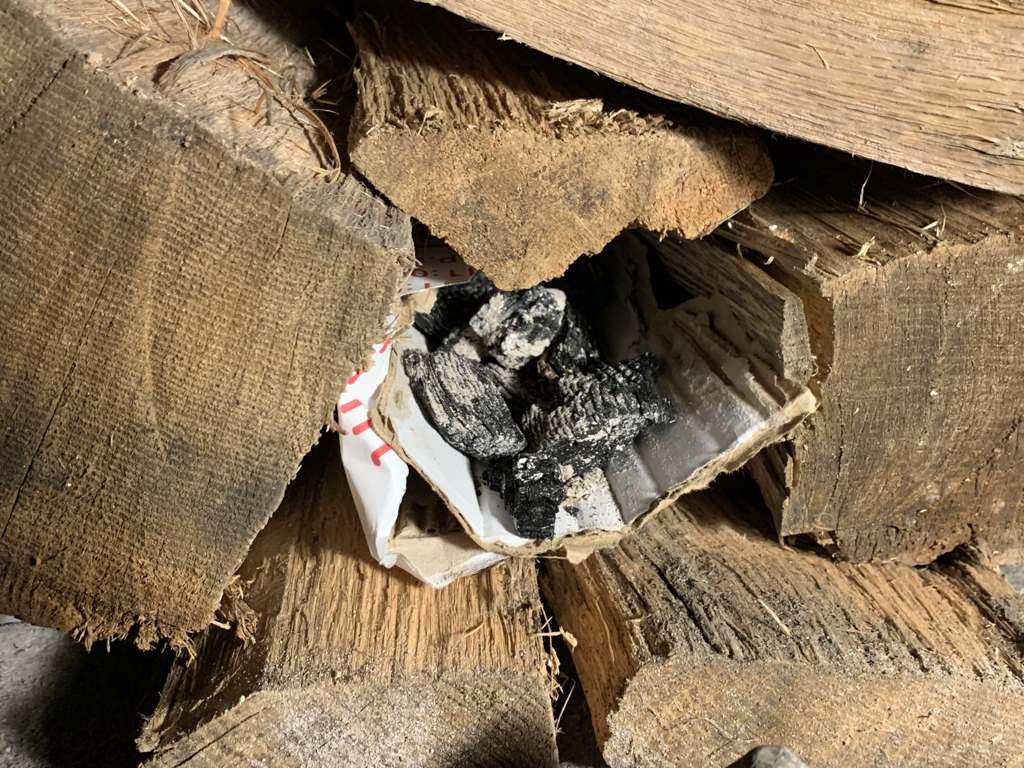
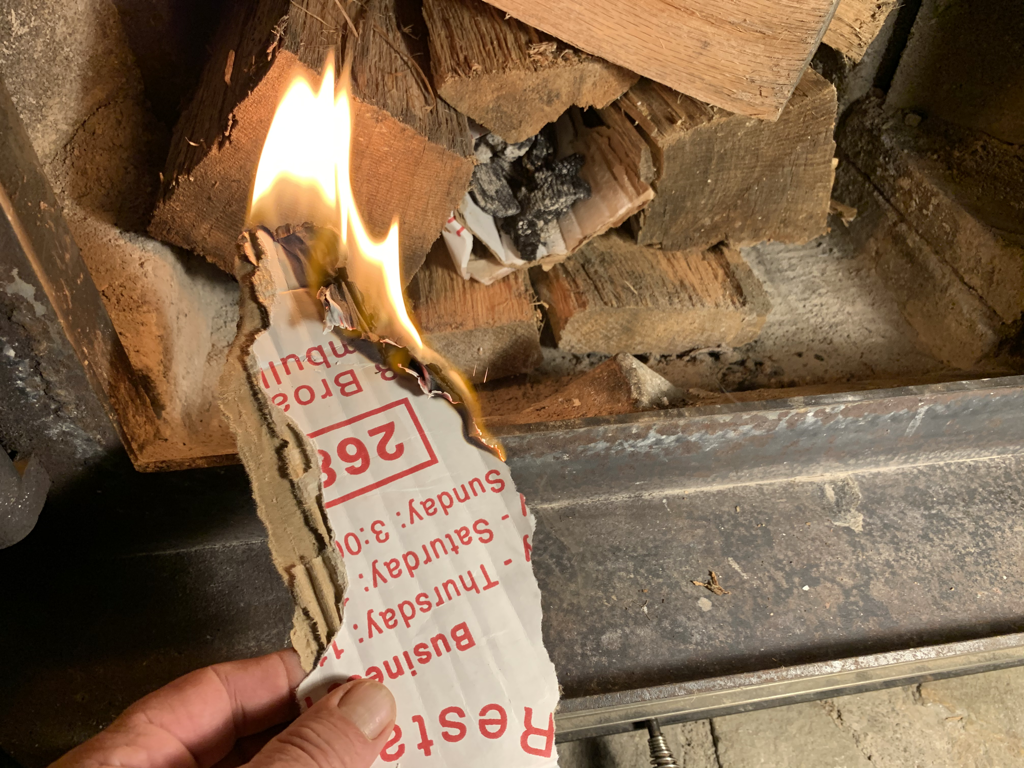
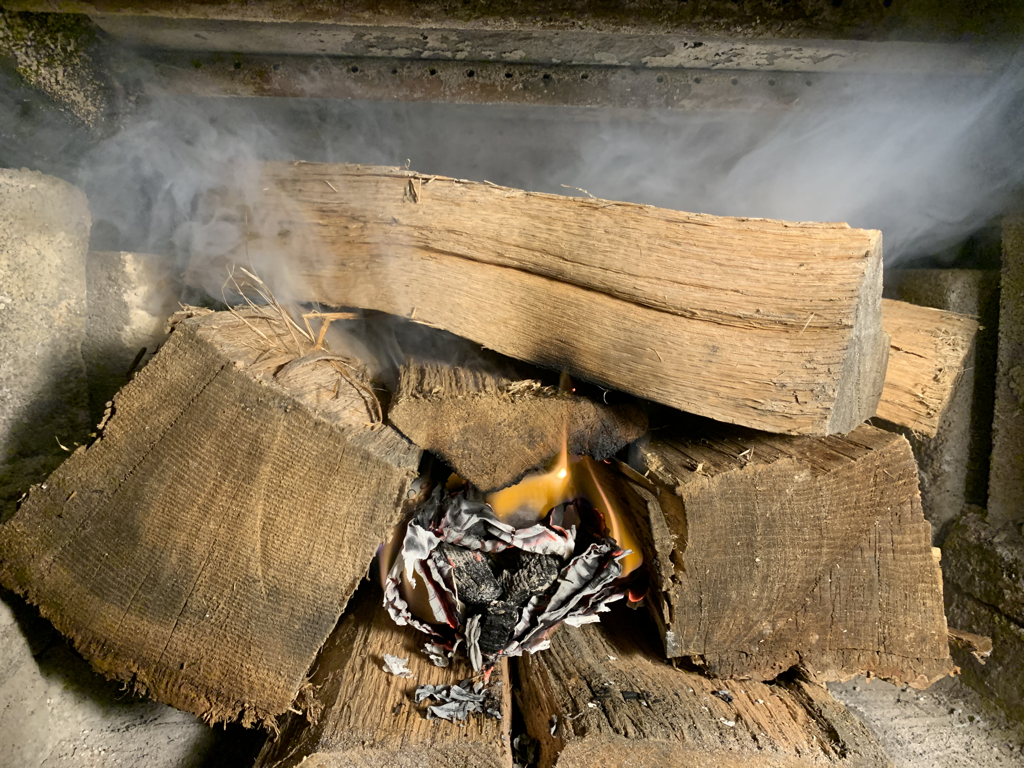
Typical disclaimer: Im pretty sure everyone needs to mention safety measures when discussing fires inside a house, so I will say- be careful! Bad things happen if you aren’t safe and sure of what you are doing. Unsure? Find out how to be safe before starting a fire inside your house, and even safer when cleaning out the fireplace of ashes. With that out of the way, here is my technique of starting a roaring fire in under five minutes. This technique is time tested, foolproof, and easy... NO KINDLING NEEDED, no duraflame logs, no huffing and puffing! I cleaned out my stove tonight to make picture taking easy- ashes were cold yet went into a steel container anyway, placed upon the stone hearth. Being safe! I ALWAYS build a house around the initial source of heat. Flat floor goes in first, thin flat pieces with NO BARK! Shredded if possible. After the floor, I build walls with all bark facing outwards (bark does not burn easily- a tree’s defense against forest fires). The walls are larger pieces tilted inwards at the top to squeeze the flames together as they ascend. Again- shredded is desirable. Next comes the ceiling of my house. It pretty much covers the top opening between the walls. Not finished yet!!! Biggest mistake is to put an insufficient amount of wood on the top. Beginner’s mistake. You need a bunch of wood on the top to intercept the flames as they snake their way upwards through the small spaces between the pieces of wood. Smallish pieces allow for more snaking to occur. More snaking=faster fire. Pizza cardboard works great. Milk cartons, gas station coffee cups (paraffin lining) is my favorite though because the wax is easy to burn. Whatever. If you are using cardboard, put a “cardboard floor” down first. Once the floor is placed inside our house, rip off one more piece of cardboard and bend it to cup it. Gather up the COLD chunks of unburned black charcoally-like pieces from the previous fire. I don’t know what this stuff is called, but it’s the SOLUTION to starting fires easily (see story at bottom). Place the black chunky thingys on the cupped second piece of cardboard and slide it into our house on top of the first piece of cardboard. The reason for two pieces of cardboard is obvious. Two pieces allows for air to get in and under the black stuff. The more air, the easier fire starting. The faster the black stuff gets red, the faster your fire is burning. This is what my fires look like before I start them. The start of our fire tonight!!! The fun part. 7:02.30pm, thirty seconds later One minute later... Chunky things turning orange. Cardboard burning well. Flames a-snaking through crevices. Moisture steaming it’s way to the ends of the wood. A little moisture in the wood creates a LOT MORE HEAT when burning than totally dried out wood. This wood was spilt in July and august. Do not buy wood that has been cut for a year or more. It gets pulpy, buggy, fungusy, and Yicchy, counter to EVERYTHING you’ve ever read about well-seasoned wood. I digress. Three minutes later, my fire is ROARING! I’ll try to put up a video later. I’ll take this opportunity to be blunt about burning wood in your house.
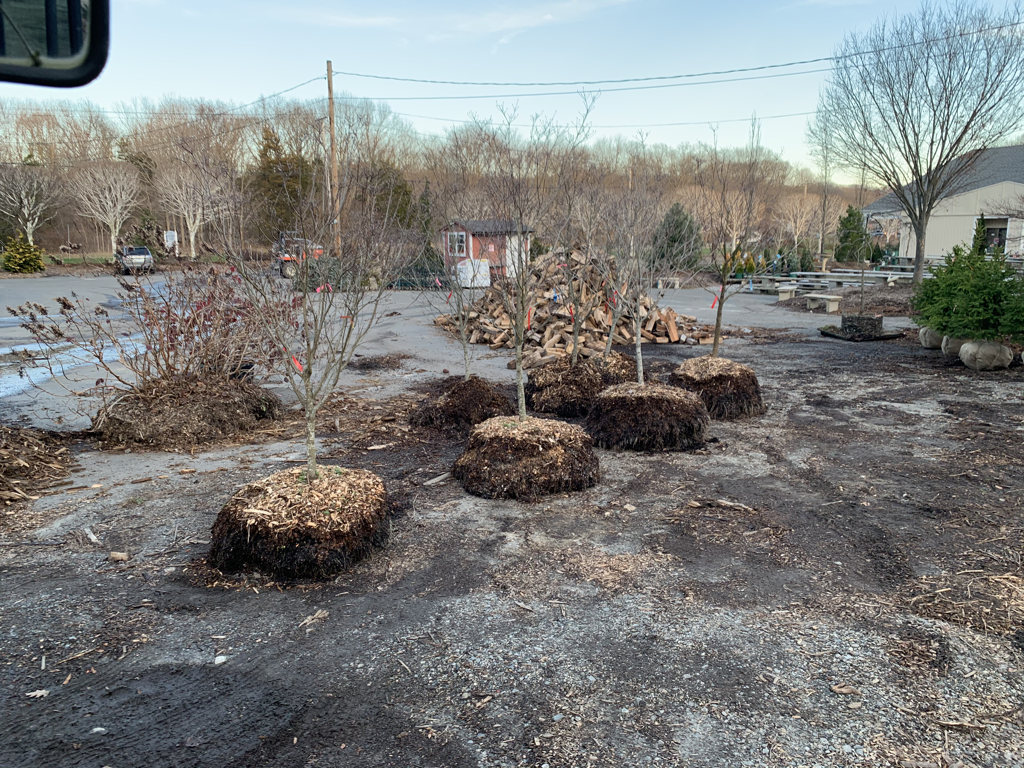
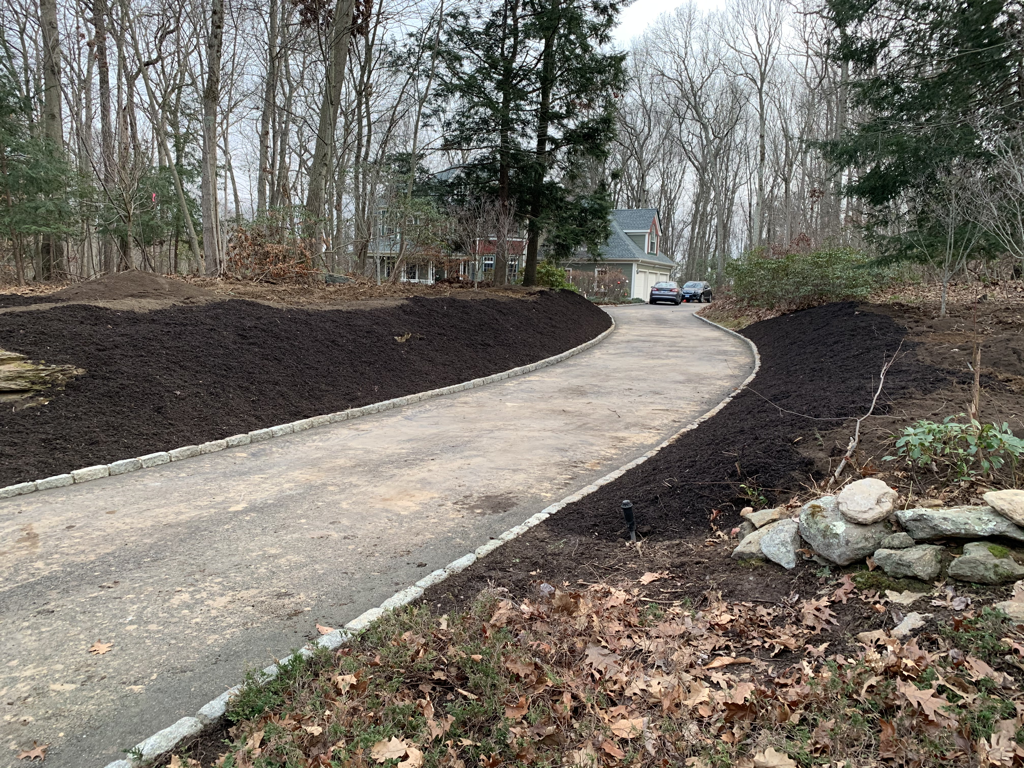
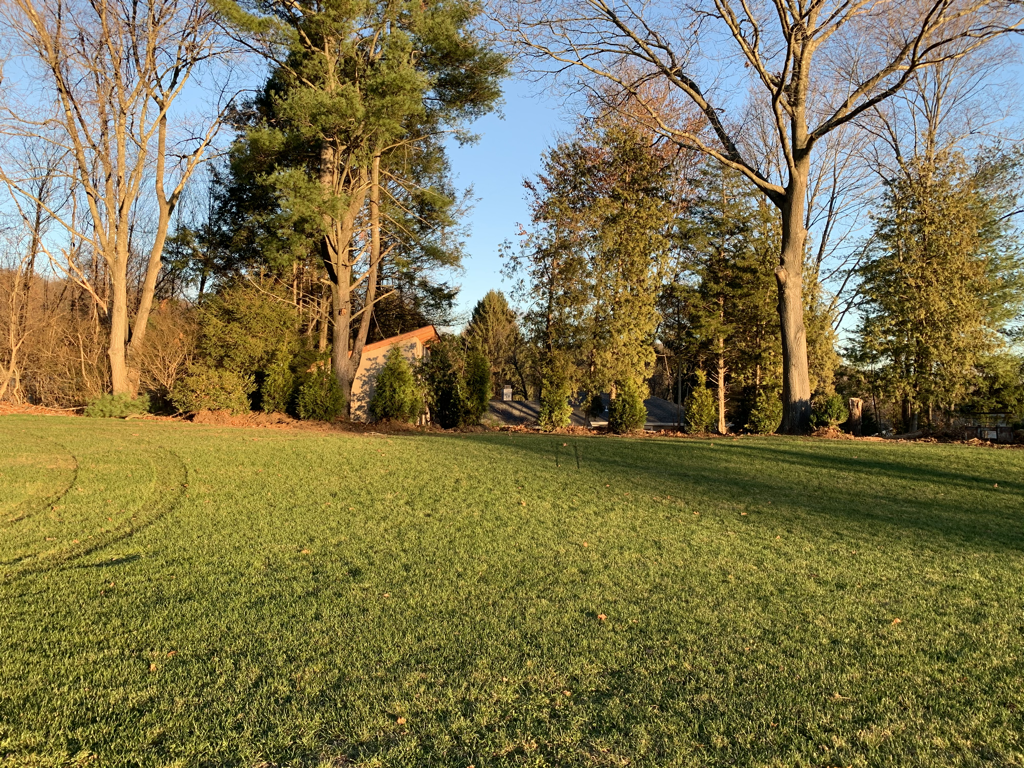
People die and houses burn down when people who don’t know what they are doing build fires in their house. There are a LOT of ways to make mistakes. Be careful, and follow the rules. We had just finished putting away our dogwoods for the year and we got a job where we needed seven of them- 4 pinks and three whites. When I was pulling them up in preparation of the burlapping process, I saw how happy the roots were. Each and every one of the dogwoods was loaded with actively growing and expanding root systems. When we burlap trees, we try not to remove ANY ROOTS. After all, with these trees it took two years for them to grow, why would we want to cut them off? Instead, we use our fingers to remove the wood chips then place the tree on a sheet of burlap. Once placed on the burlap, we HURRY to tie the burlap up because we don’t want the tender roots to dry out. If the dry out they die, and we might as well have cut them off! We use all our strength to tighten the burlap as tight as we can so the root ball is a sturdy presentable package, stable in transit in the truck, easily moved with a bobcat, and stable once in the ground (we NEVER stake trees). Three done, four to go. As soon as these trees are balled and burlapped, they go ASAP onto a puddle with wet wood chips dumped on top of the root ball to rehydrate the roots quickly just in case they dried out. Failure to follow these time-tested rules is akin to disrespecting the customer’s expectations for high quality trees, disrespectful to the tree itself for all the work it’s done while we have cared for them, and disrespectful to ourselves for not putting out 1,000% effort on each and every job requiring skilled relationships with our non-human friends. I’m serious when I say that I’m stressed each time I run across trees like these. If they are willing to work so hard for us, there is nothing that I won’t do for them to ease their move from our property to their final home. The plan calls for a dogwood tree-lined driveway with up lighting and tons of other stuff planted next spring. The existing foliage was removed, thirty yards of top quality soil added, and mulch. Right now, the dogwoods blend in with the surrounding trees, but it’s a start! All the laborious work was just finished, and all that needs to be done from now on is the planting of whatever the homeowner wants. Rocks and brush removed, 8” of soft topsoil and mulch. When it’s time to plant, it will be easy street! But back to the dogwoods: the roots are actively growing all winter long. The soil stays moist all winter. The homeowner NEVER needs to water these trees this fall nor next spring which is the most advantageous reason most of us tree guys are fans of fall and late fall plantings. On another planting, today we planted a row of privacy trees. Who wants to look at a zoning violation shed when there was none there before? A couple of hours, and the groundwork has been done for immediate privacy. Fertilizer, great soil, and the right trees in the right spot make happy homeowners.
Moral of the story: fall planting is the BEST for all involved! Planting trees, shrubs, and perennials now is better than planting in the spring and summer, The reason for that is that you can plant them in the ground and never water them. The roots of plants grow a lot in the winter. We humans look at plants now and think that they are dormant, but they are not. Some trees grow about a foot of roots per side between October and April, giving them a lot of protection from the insane heat and droughts that afflict us increasingly every year. Plants don't die in the winter, they are weakened by summer stresses, and when plants don't come back in the spring, people assume that winter killed them when it was in fact the summer stresses.
Pictures to follow. |
Winter hours-
|
Telephone(203) 261-3926
|






 RSS Feed